I rarely show pictures of my bedroom, mainly because it is a bear to photograph. It is on the north/east corner of the house so it tends to be really dark and then add in the windows which always get blown out in photos. I did my best.
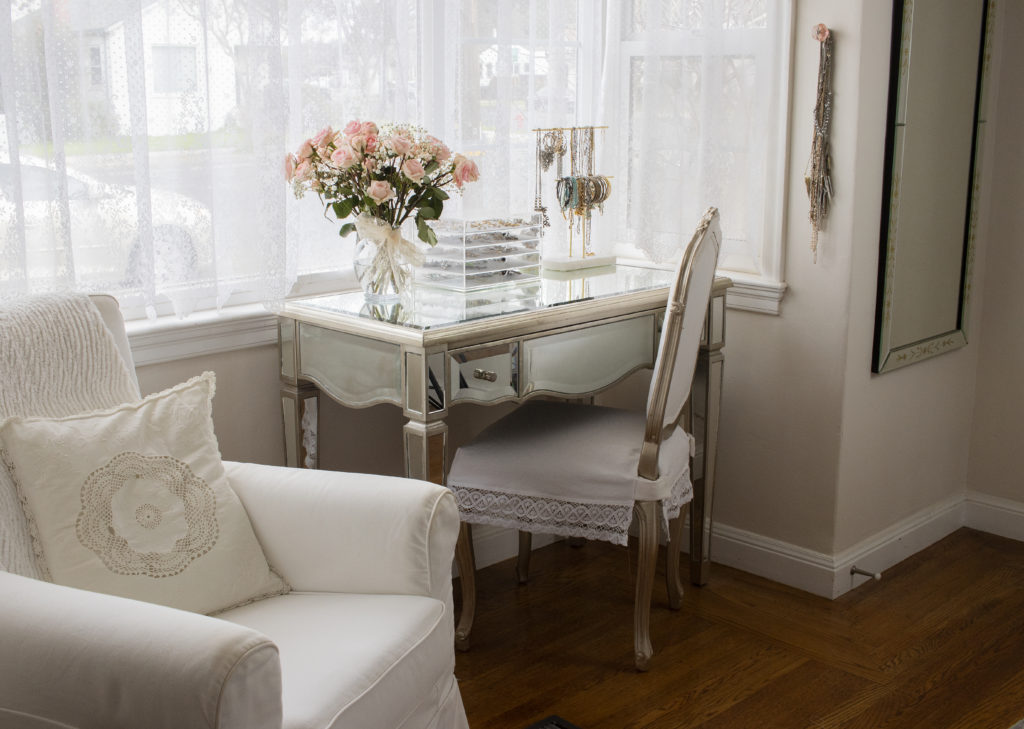
Anyway, this isn’t about the poor lighting in my bedroom. It’s about a quick project I whipped out yesterday on a whim. I have had this vanity chair for about eight years and when I first bought it I immediately painted it a champagne gold color to match the mirrored vanity and I reupholstered the back of the chair. I just never got around to doing anything about the seat.
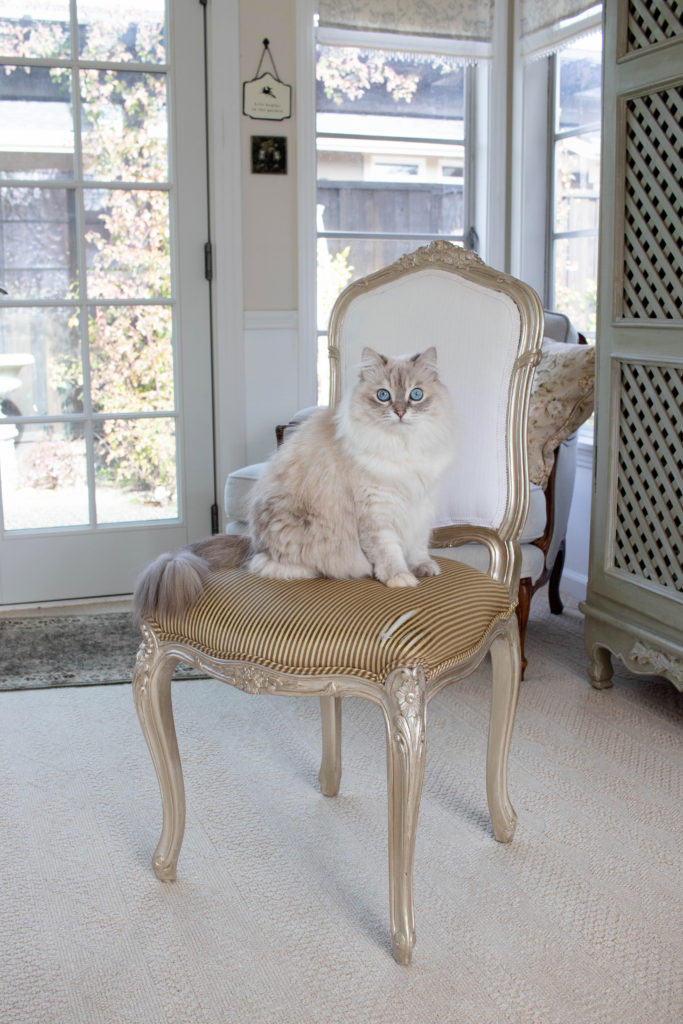
Rosie is here to supervise. It was covered in a gold striped, satiny material that had seen better days. I toyed with the idea of recovering the seat but then decided that the easier route would be to make a slipcover for it instead.
Since eight years had passed I have no idea where the fabric for the back came from. It is a thicker cotton. I just recently bleached a drop cloth for another chair recovering project and decided it was a close enough match.
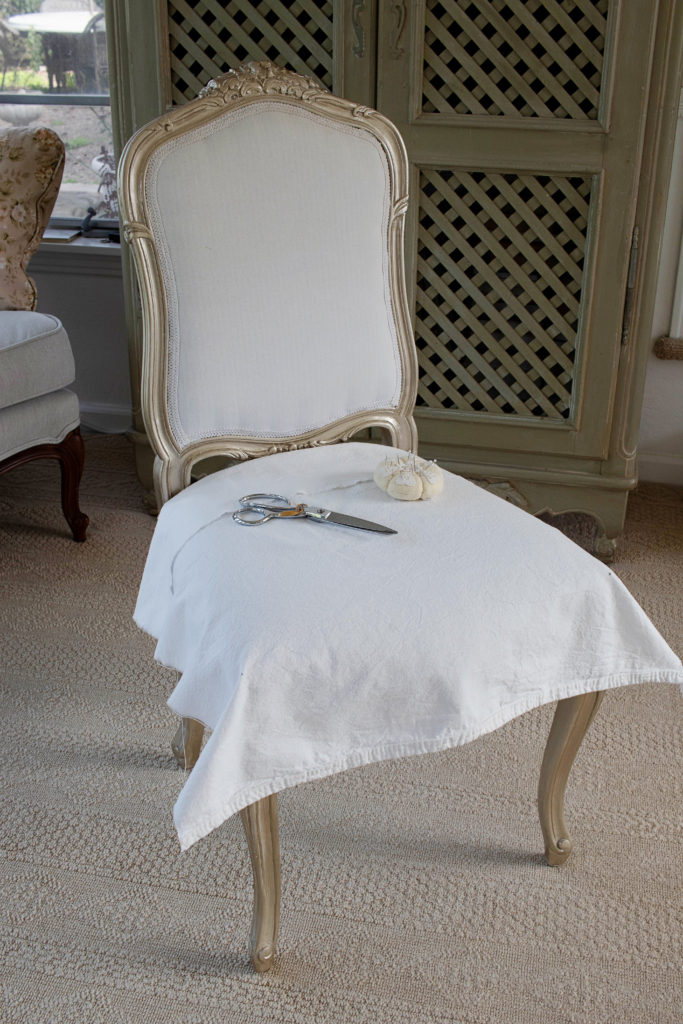
To be honest, when it comes to making a slipcover for anything you just have to wing it. I draped my fabric over the seat and made some markings and then just had at it. This one was pretty straightforward. I cut the corners off on the back and then pinned darts in the front.
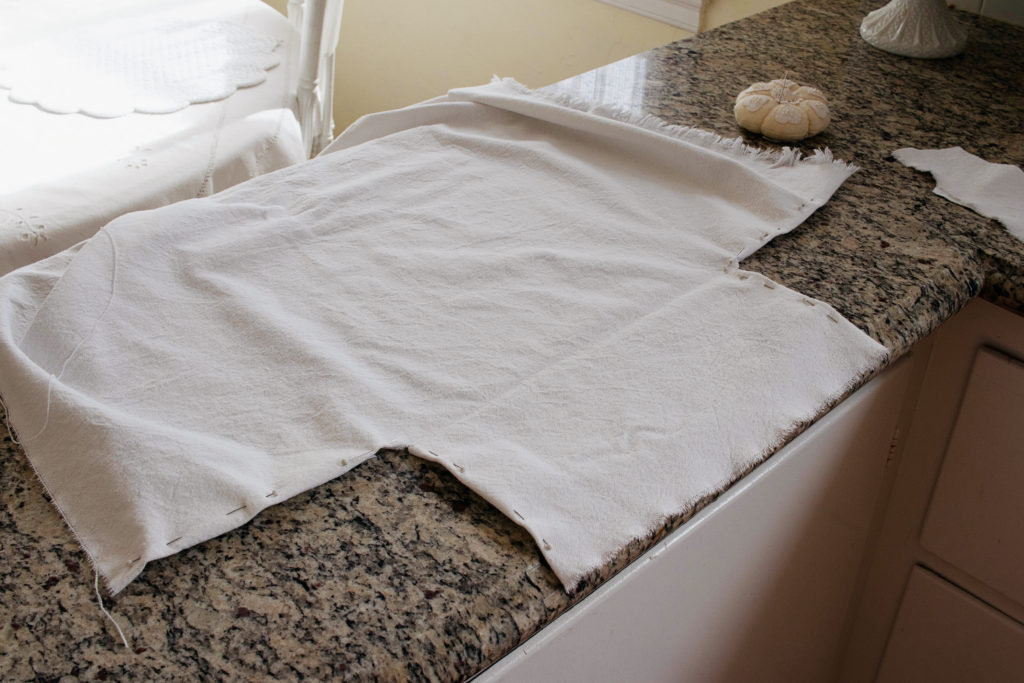
When I hemmed those corner cutouts I reinforced the corner by stitching back and forth a few times. The hem is quite narrow right there.
At first my plan was to make ties for the back but after trying it out I could see that the fabric was too stiff and my bow looked rather pathetic.
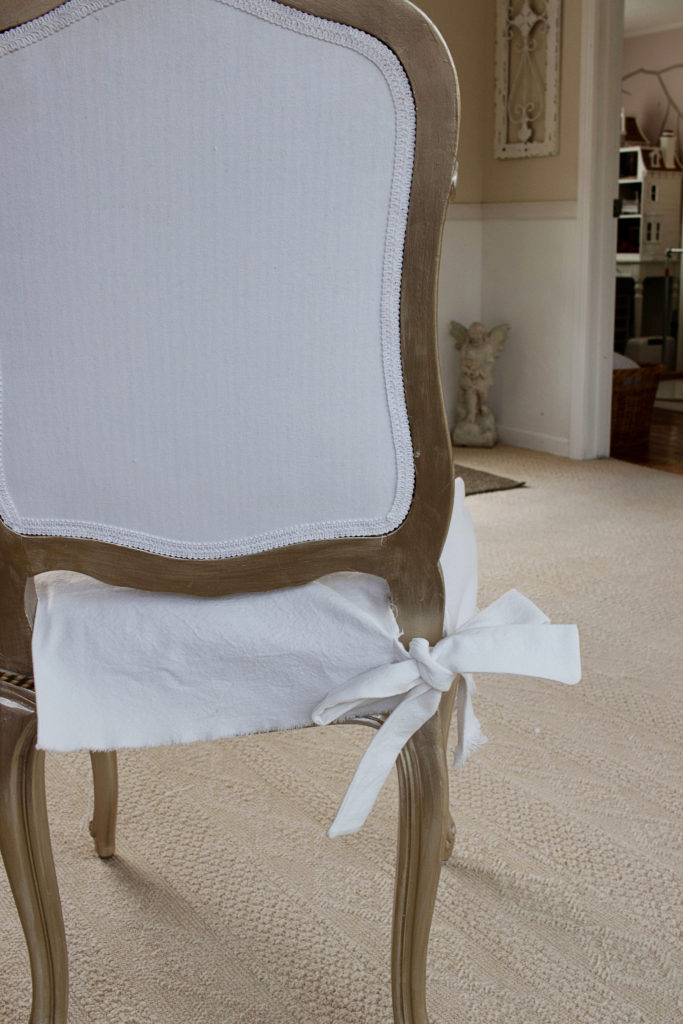
Plan B was to shorten the ties and use velcro to close them together. Much tidier and better looking.
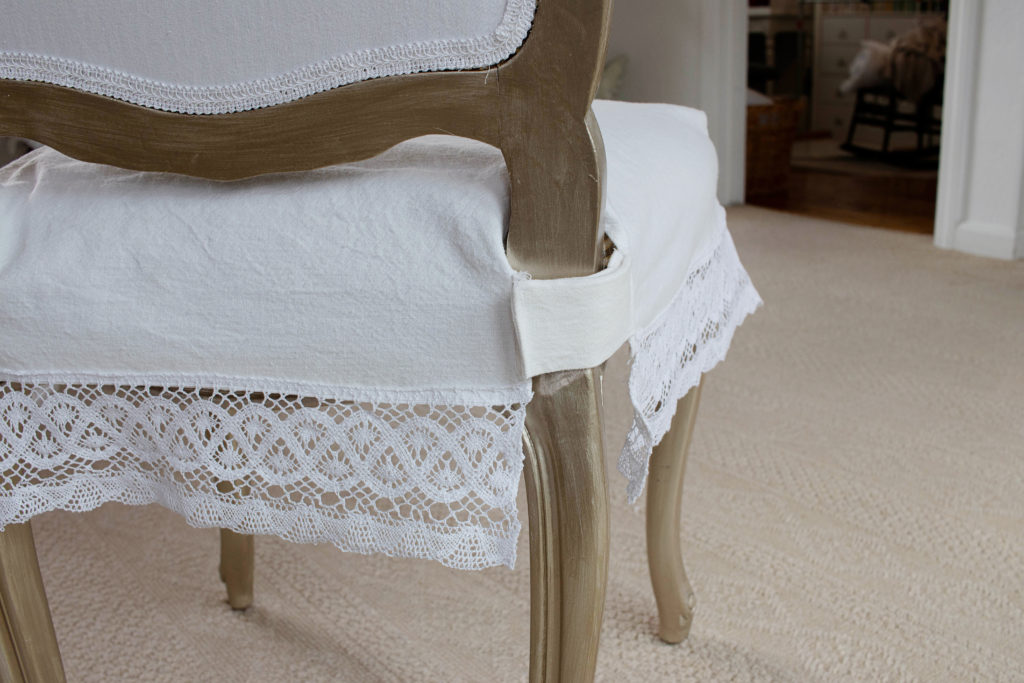
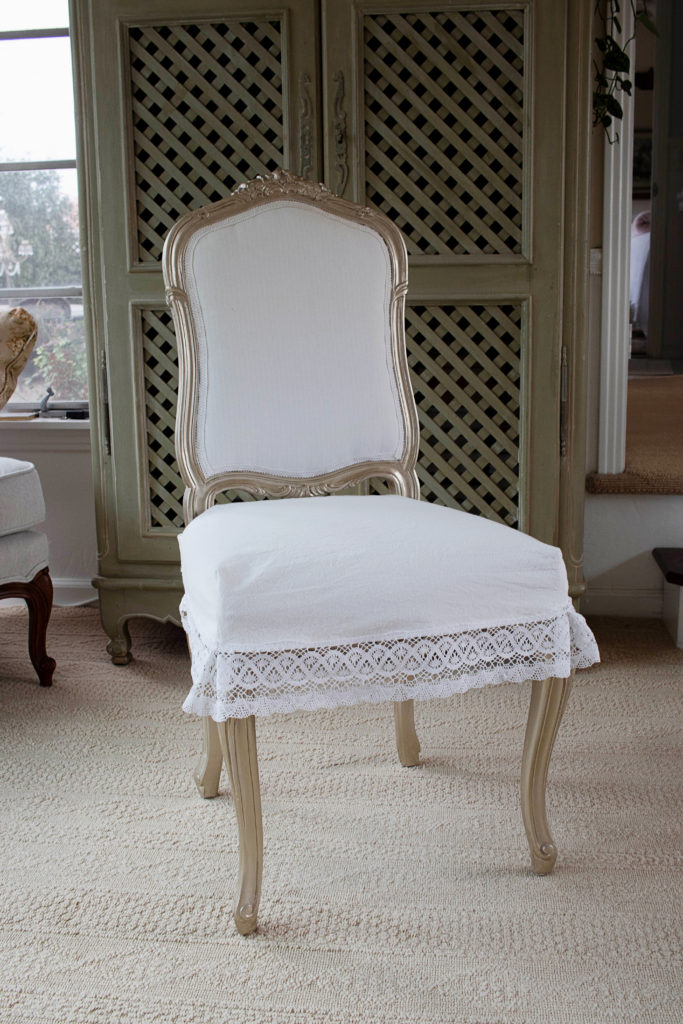
I also toyed with the idea for doing a box pleat ruffle along the bottom, but again, thought the fabric’s thickness wouldn’t lend itself to that application so I did a simple crotchet lace trim instead. If I was to do it over I would have lowered the tabs on the back to be even with the bottom of the fabric (where the lace is attached) so I could extend the lace to the tabs. Then the lace would overlap over the back legs. Ah well. Next time.
I did add pleats to the two front corners to add in a little bit of ease across the front.
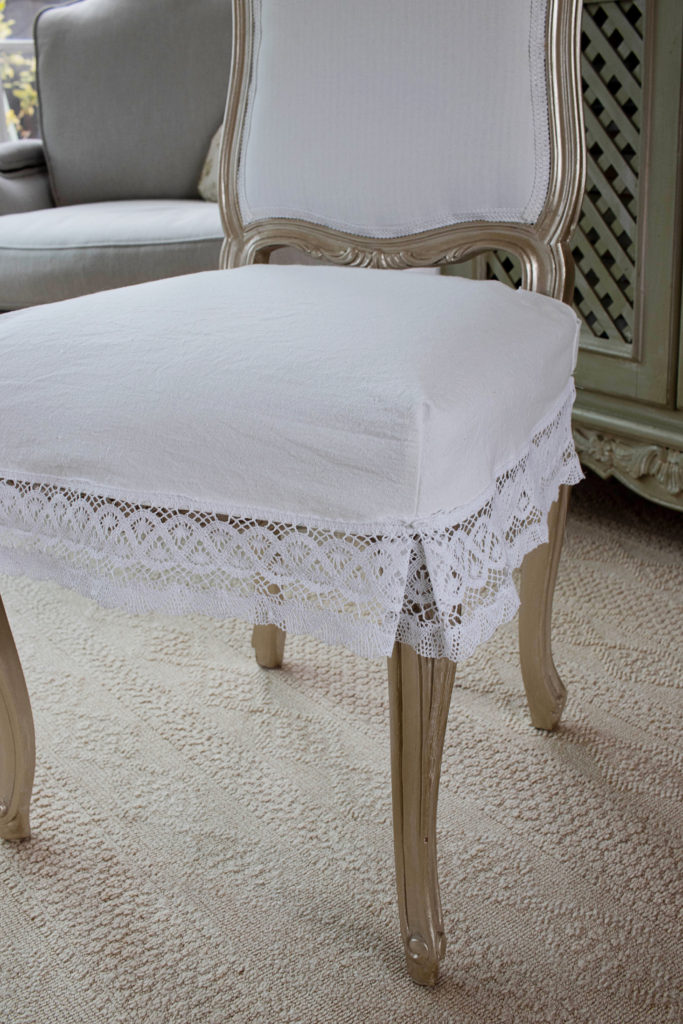
All in all a pretty easy project. It only took a couple of hours (if you don’t count the eight years it took to get started…).