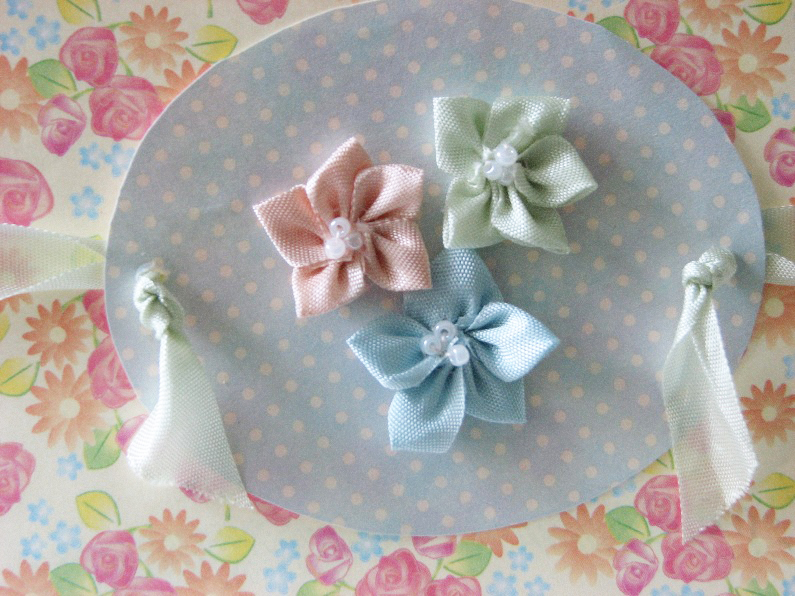
Project No. 8 of the online art retreat was a simple embellished card. The small flowers were supposed to be made using rick-rack but I didn't have any in the colors I needed so I decided to make little ribbon flowers instead.
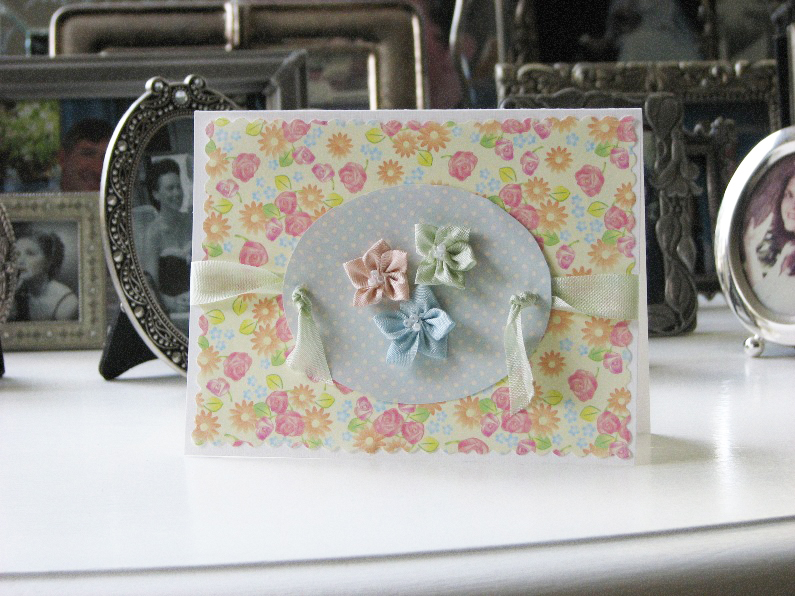
The little flowers remind me a bit of flor de fuxico only on a teeny scale. I found the directions on some website and now I can't find it again. I wanted to show you how they are made so I had the bright idea to do a tutorial.
Ribbon Flower Tutorial
Step 1. File fingernails and trim off ragged cuticles so it doesn't look like you work on cars for a living.
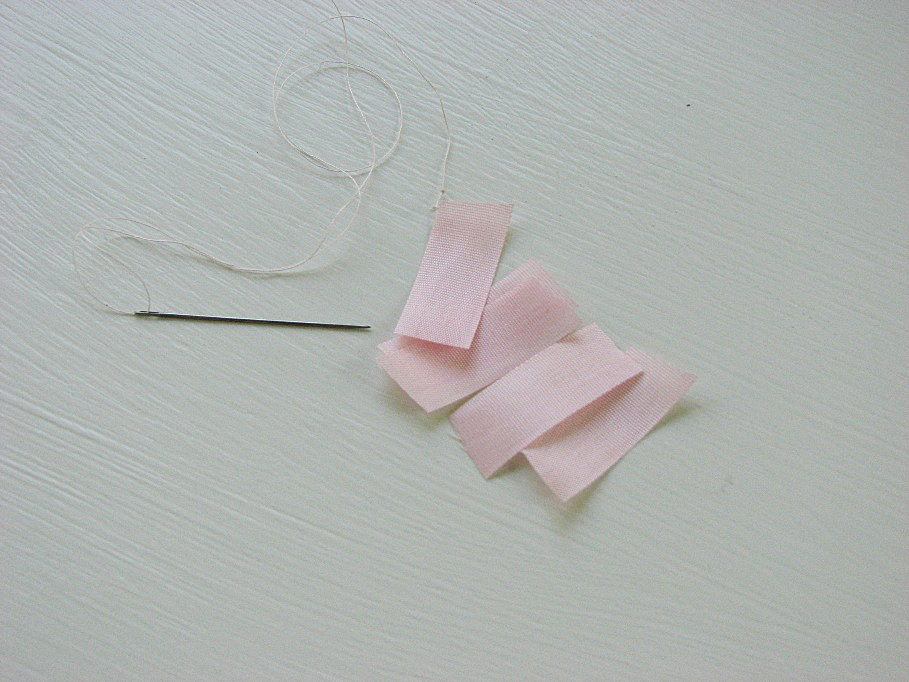
Step 2. Cut five 1-inch lengths of ribbon. I am using 1/2" wide craft seam binding from the Martha Stewart Crafts line. Have a threaded needle ready.
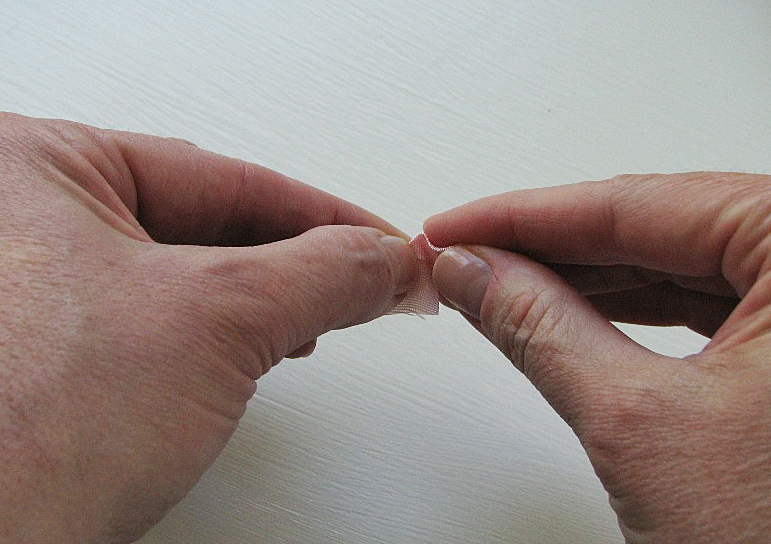
Step 3. Fold ribbon, making a mitred edge.

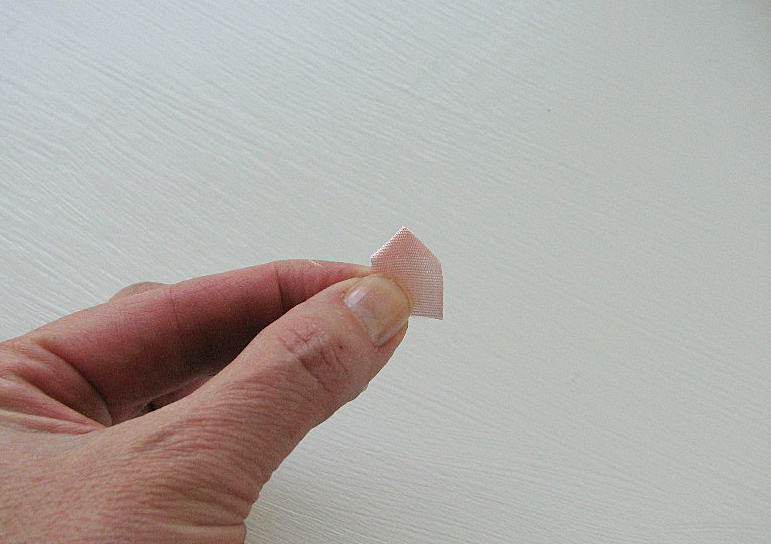
Step 4. Fold mitred edge in on itself, so the ends of the ribbon line up together (this was hard to photograph…). Don't worry about the ends of the ribbon being the same length as we are going to trim them anyway.
This is how it should look:
And this is what the back looks like:

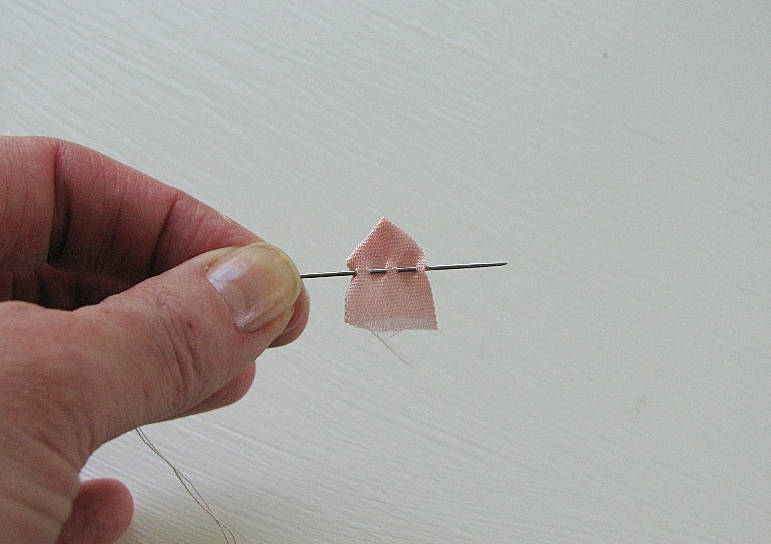
Step 5. Thread the petal on the needle just slightly below the triangle top of the petal.
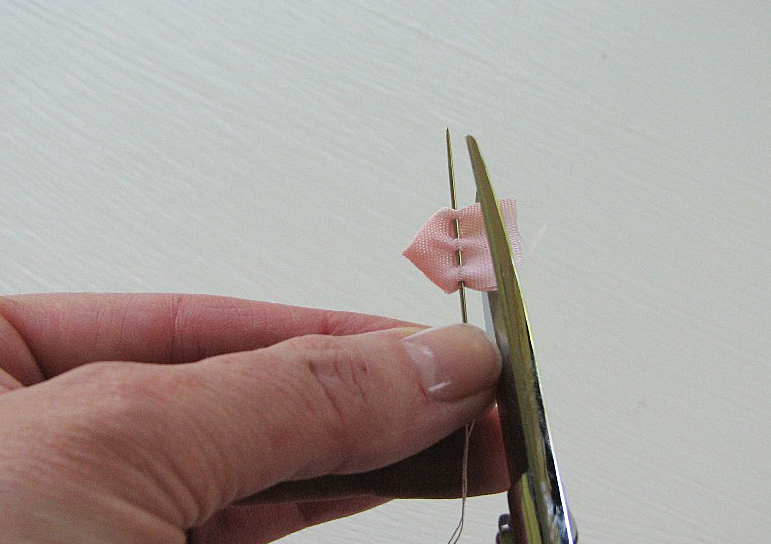
Step 6. Trim the ends of the ribbon about 1/8" below the needle.
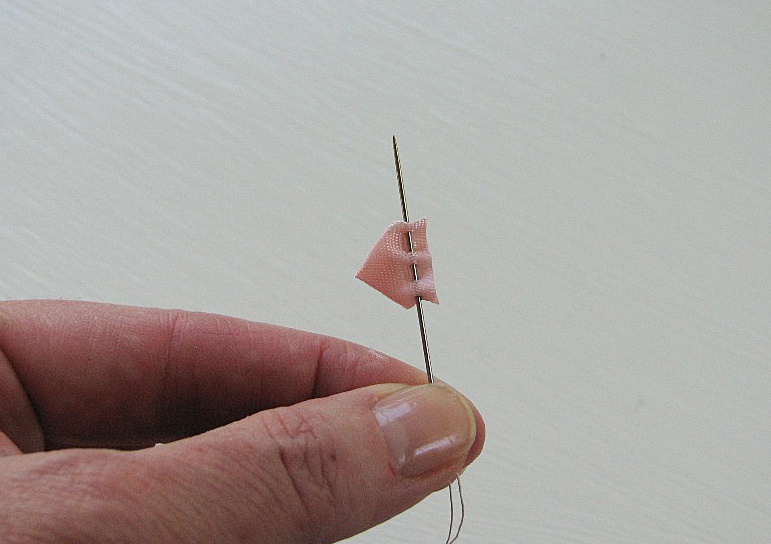
It will look like this:
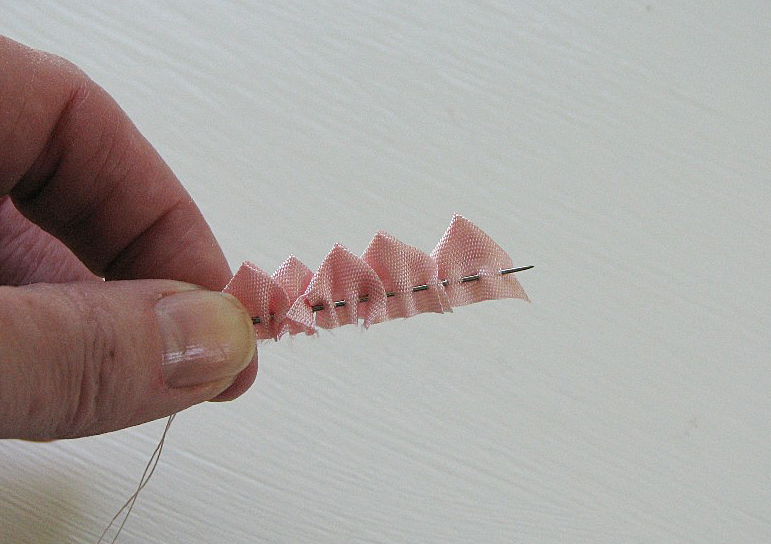
Step 7. Leaving the first petal on the needle, repeat the steps with the other four pieces of ribbon.
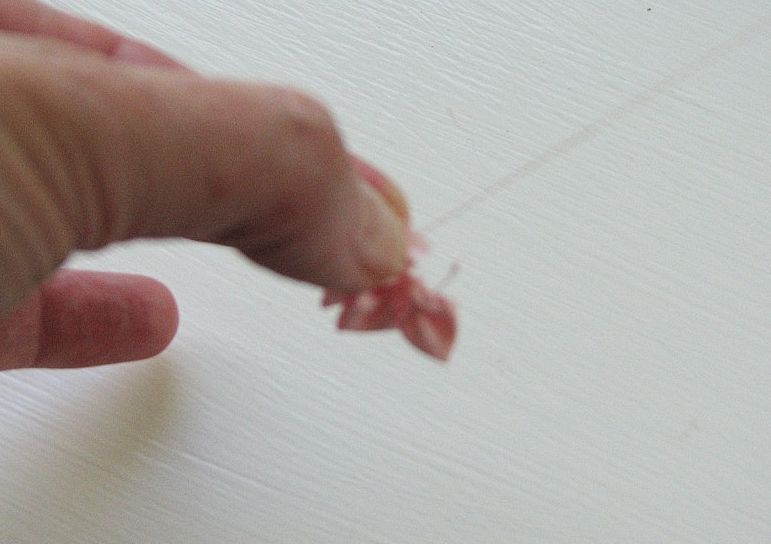
Step 8. Now pull the needle through and gather the petals as tight as you can. Pull a stitch through the first petal so you make a circle of petals and stitch down in the back. I'm really sorry this picture is blurry….
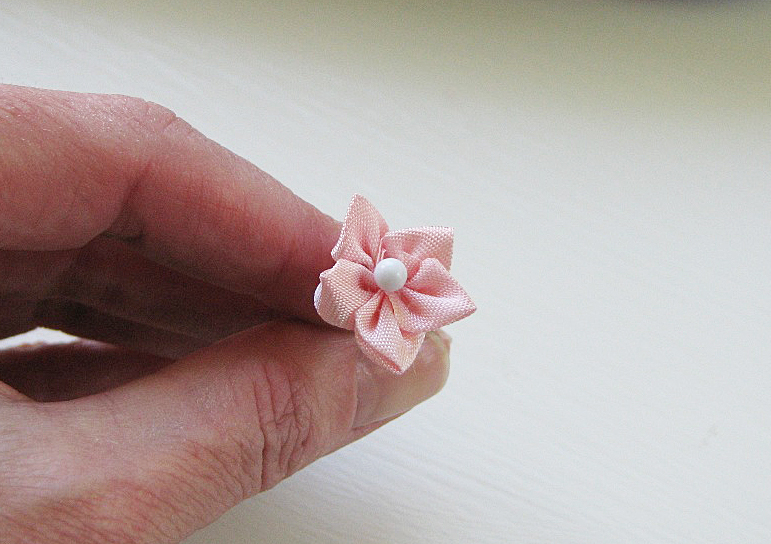
There you have it. A little ribbon flower.
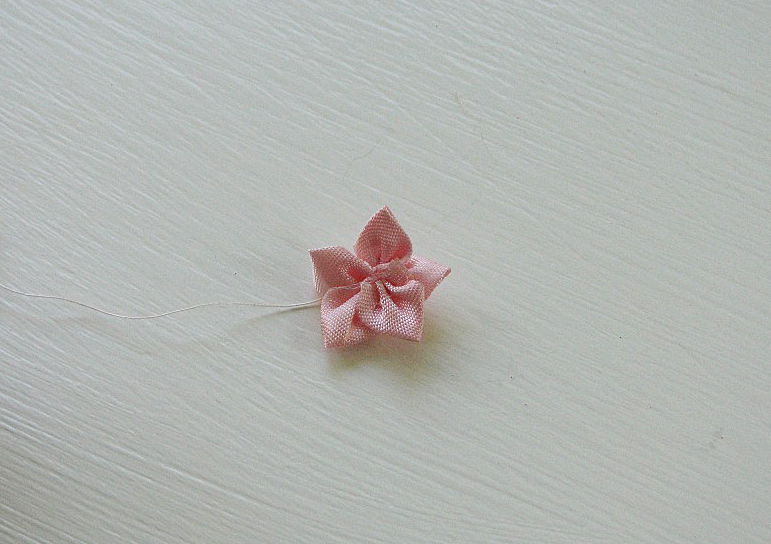
Step 9. You can stitch on a few beads or a teeny button in the center to finish off your flower.