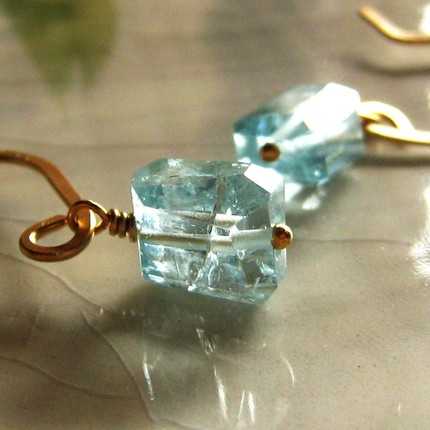
Aquamarine earrings (lust lust lust) Kahili Creations
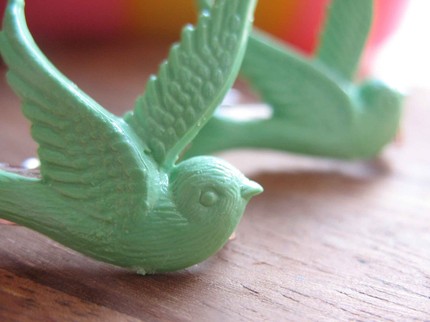
Vintage bird barrettes – Sakura Kitty Creatives
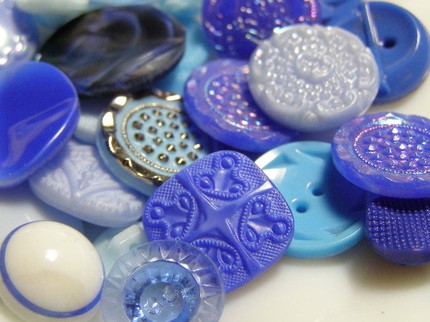
Vintage blue buttons – Vintage Sew and Sew
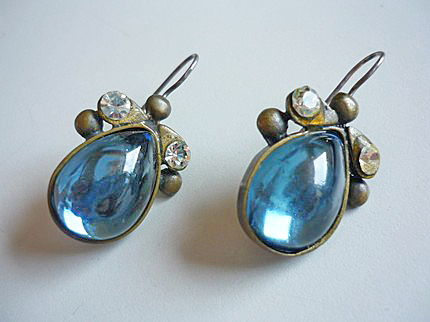
Vintage earrings – Vintage Aspect
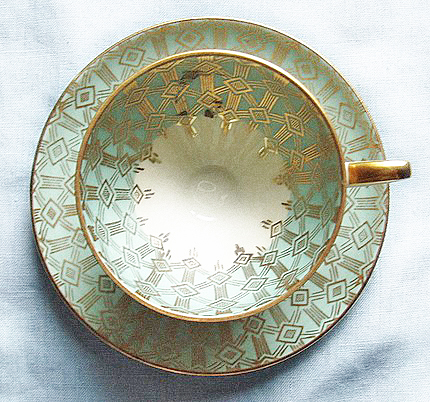
Teacup – Emily Lynch
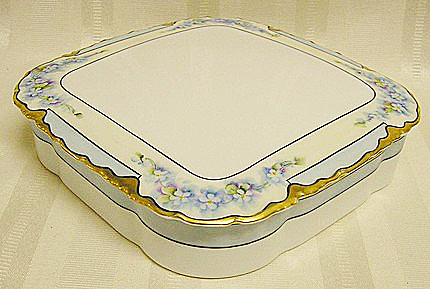
Vintage hankie box – Swan Song Antiques


