• Skip to primary navigation
  • Skip to main content
  • Skip to primary sidebar
  • Home
  • Catagories
    • Books
    • Crafts
    • Dollhouse
    • Favorites
    • Food
    • Garden
    • Holidays
    • House
    • Musings
    • Organize
    • Places
    • Shopping
  • Contact
  • Nav Widget Area

    • Email
    • Instagram
    • Pinterest

Under a Blue Moon

Decor, cooking, organization, all the pretty things

Recovering an Office Chair

Bright office

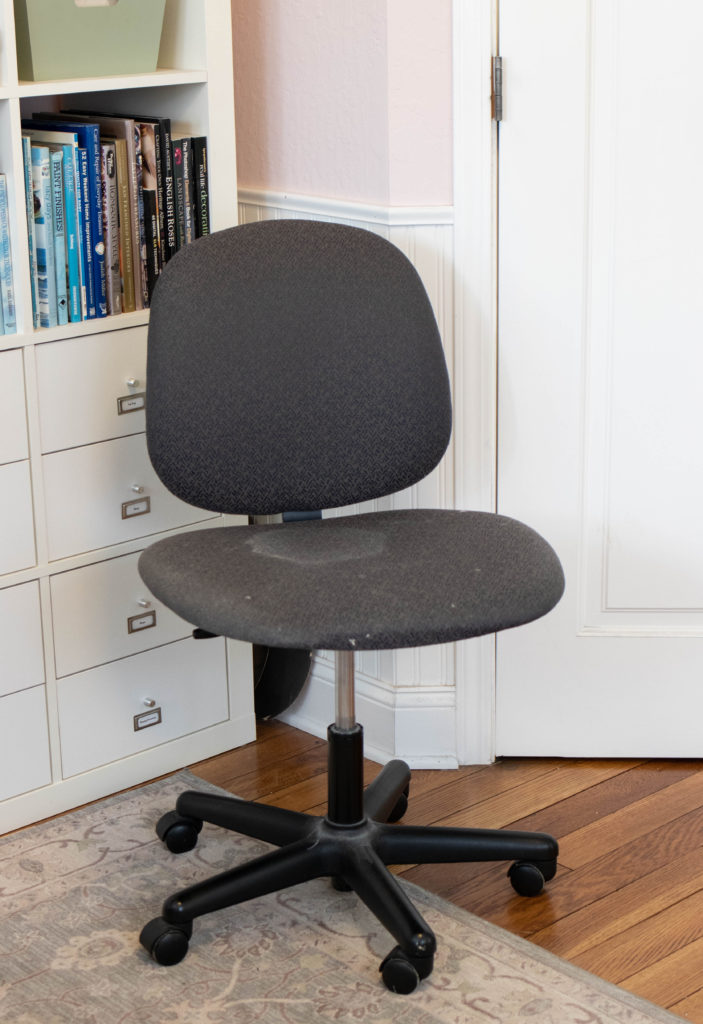
Yesterday I suddenly and completely could not stand my skanky old office chair for one more minute.  This is a chair that I’ve had for about ten years and it was a freebie from Rick’s old work place.  It has been very serviceable and is pretty comfortable but the fabric was starting to show its age as well as being blue which is not a color I decorate with.

It also had an unfortunate potty training incident a few weeks ago that spot cleaning and baking soda didn’t seem to help.

I had a couple of yards of a white ribbed knit fabric I bought a few years ago when I got a  notion to recover my outdoor seat cushions (yeah – that never happened) and I thought the stretchy-ness of the fabric would lend itself to an office chair overhaul.

I was not going for a perfect job here.  I just wanted to give it a fresh look.  This is another one of those projects where if you look too closely you will see all the rough edges.

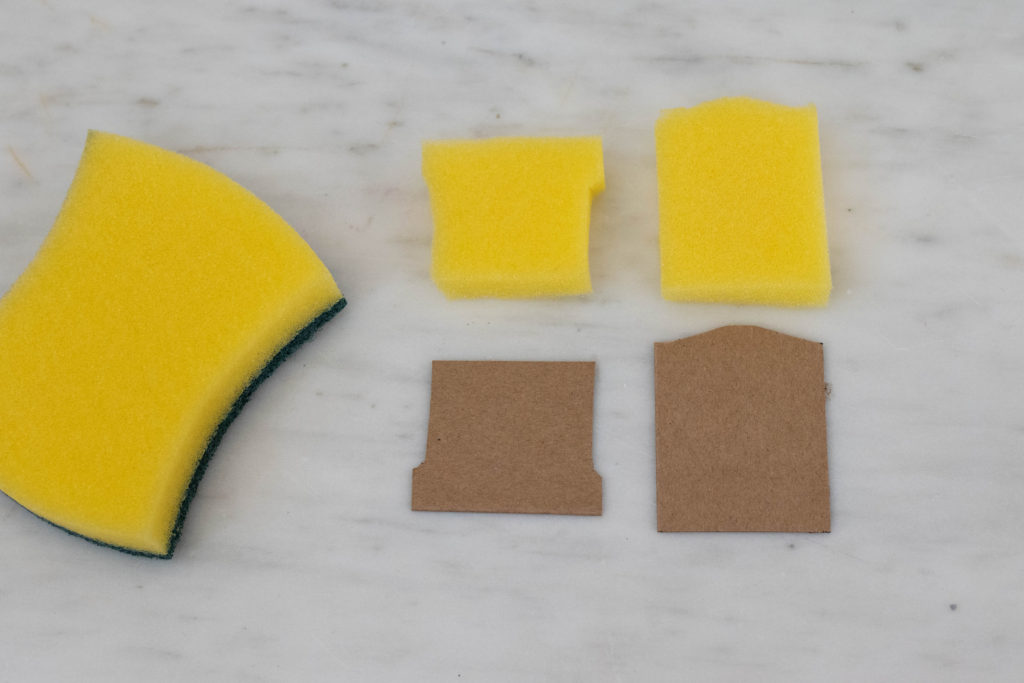
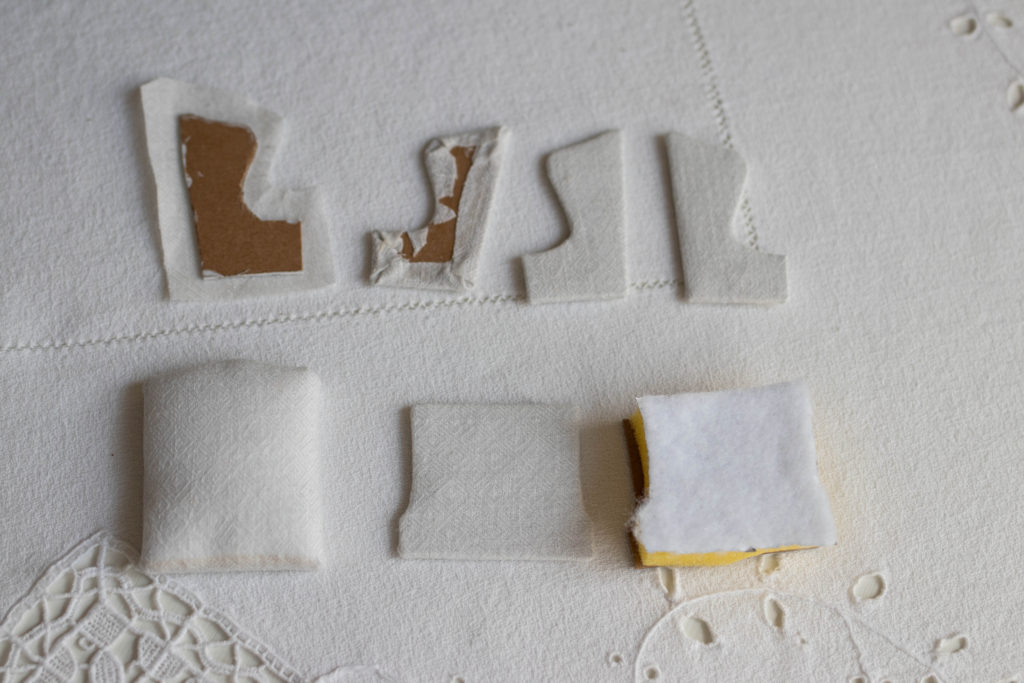
I started off by cutting a rectangle slightly larger than the seat. I flipped the chair over and stapled it in place, stretching the fabric to pull it tight.  I trimmed the excess fabric close to the staples and flipped the chair back over.  Seat cover done.  Next was to tackle the seat back.   I traced the outline of the seat back and cut two pieces (a rounded off square of sorts) and sewed the two pieces together leaving an opening at the bottom so I could slip it over the back.  I then flipped the chair upside down and stitched the opening closed.  The entire project took about 30 minutes.

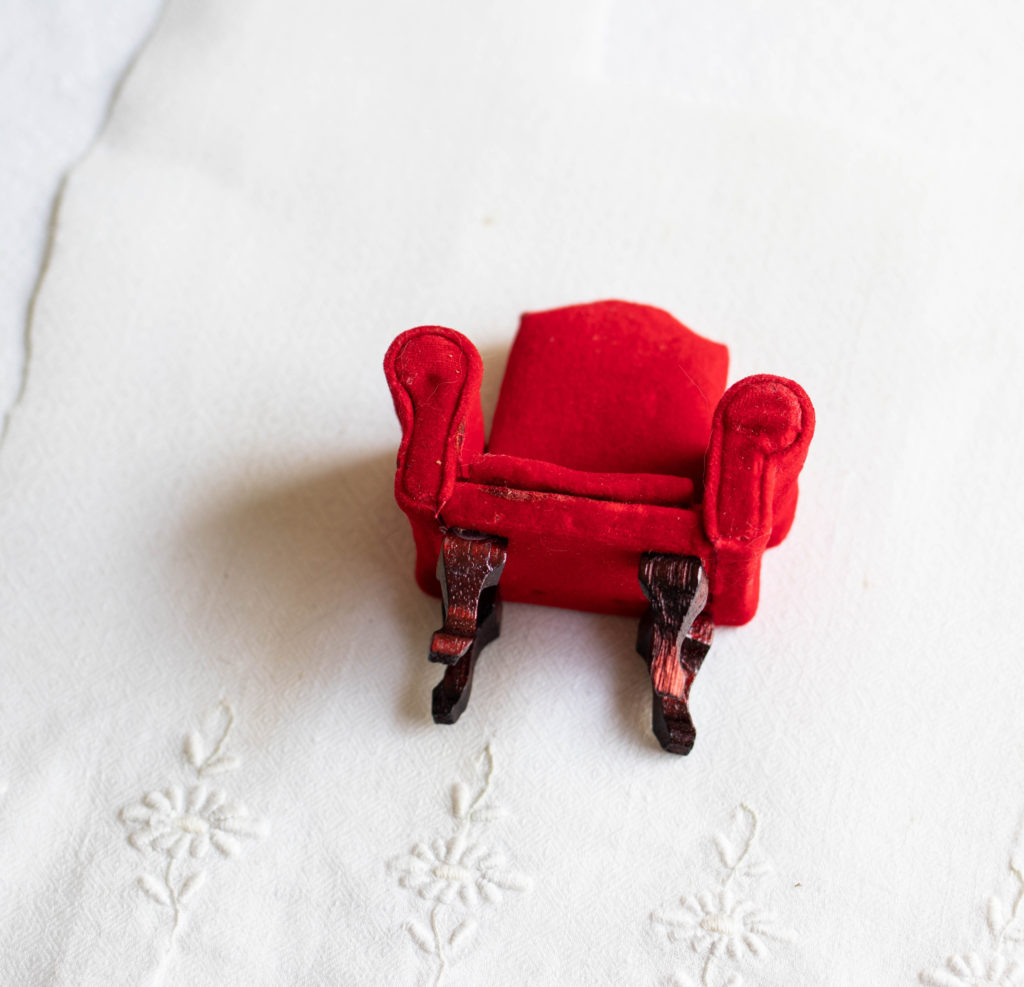
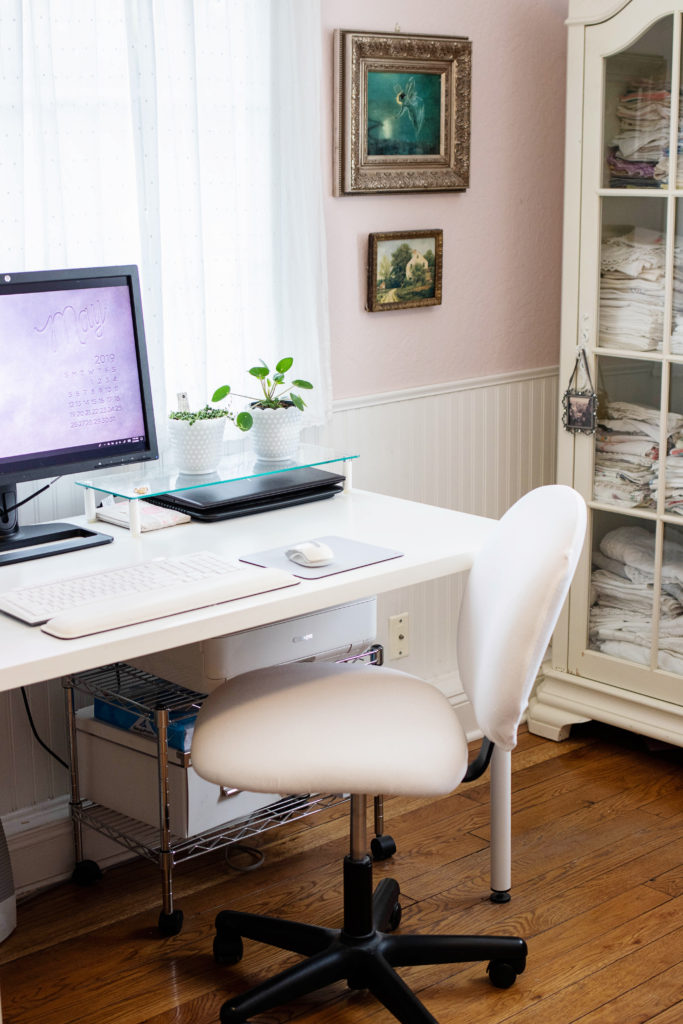
At some point I would like to get a prettier chair but this is perfectly serviceable for the time being.

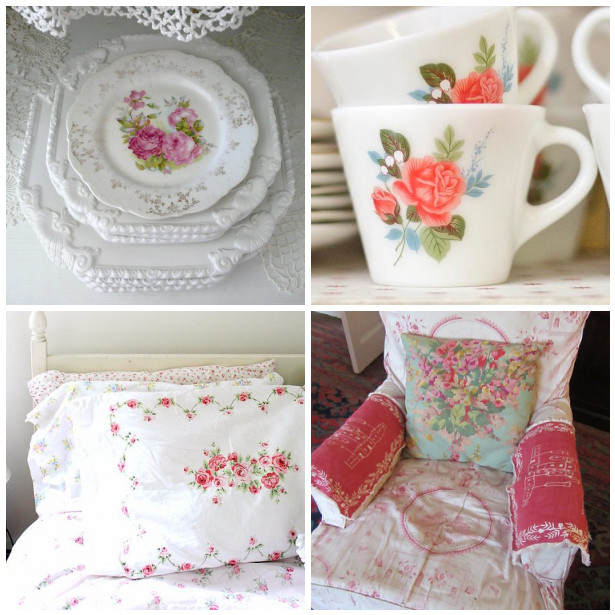
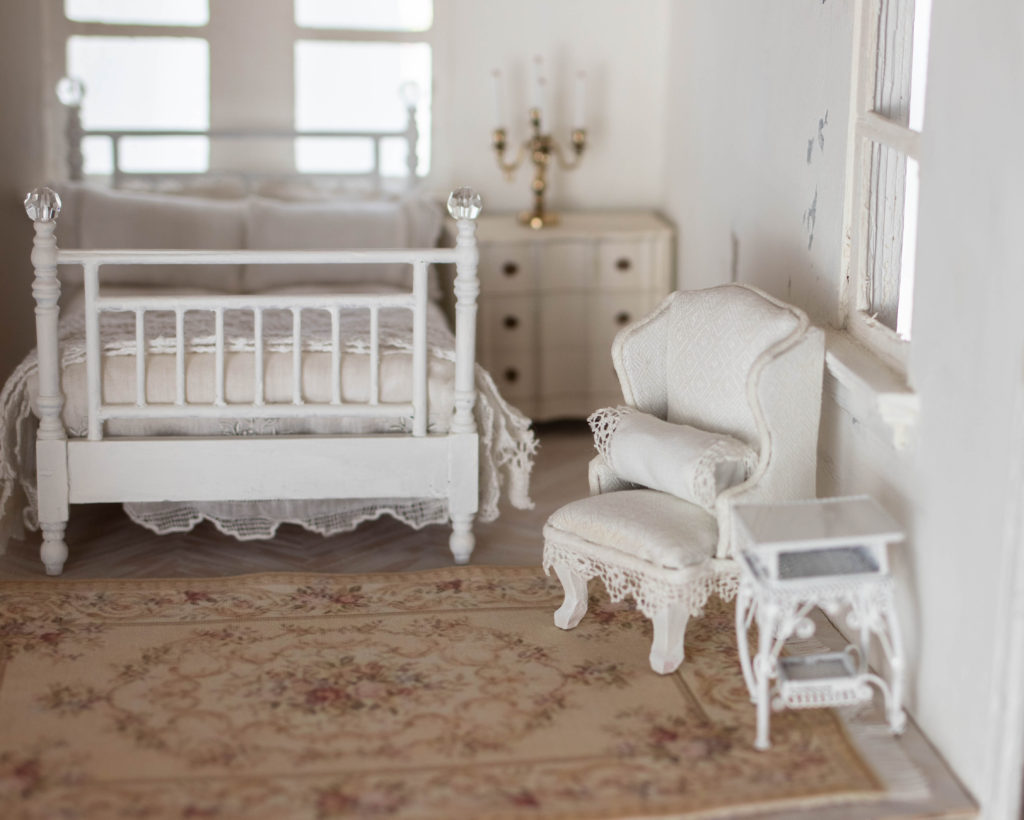
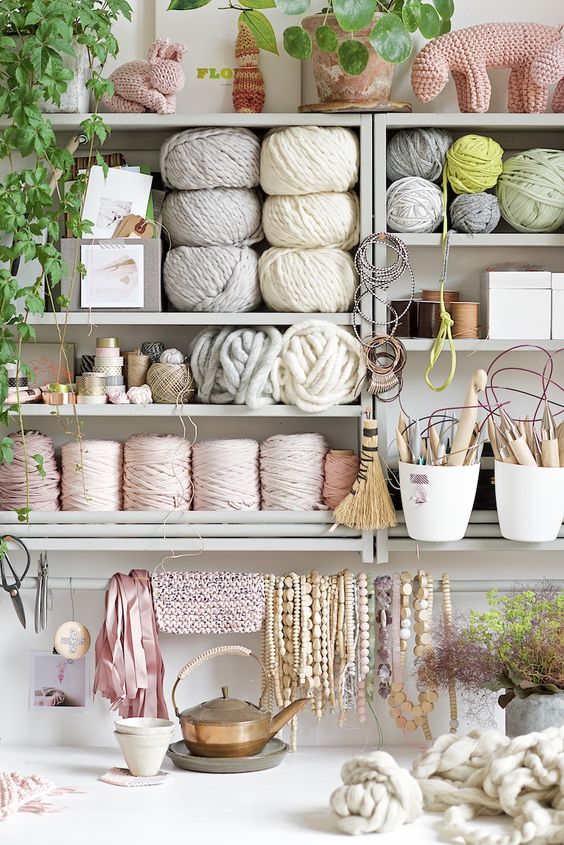
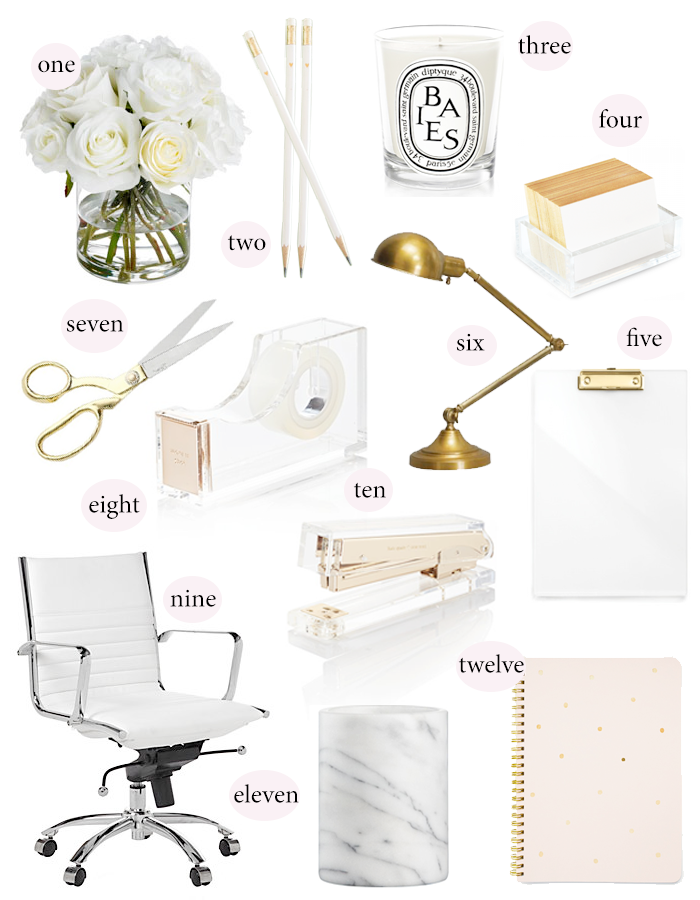
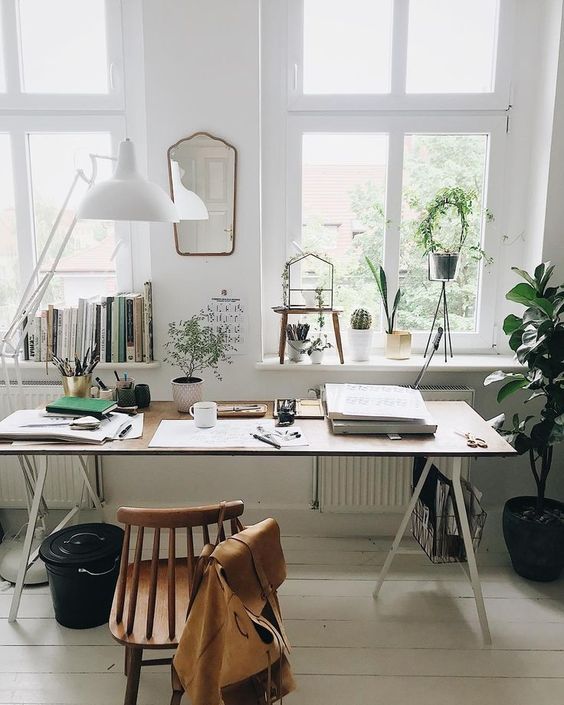
For the most part I like my office set up.  Here is an office tour post I did a year an half ago so you can see the layout of the room.  It serves a lot of purposes therefore there is a lot of furniture in the room.   I’m feeling the itch to rearrange things so I’ve been looking and pinning pictures of other office/creative spaces to get inspiration.  Here are a few that are inspiring me:

source unknown


@lebenslustiger


The Sunday Chapter


Recently the Blog


@margo.hupert.art

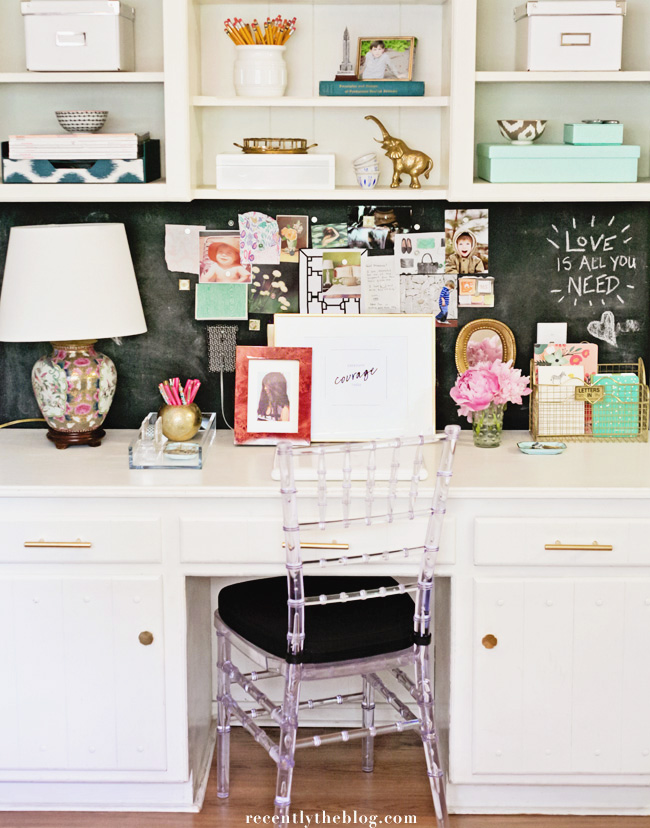
I spend a lot of time in my office so it naturally begins to reflect the true me – not just how I want it to appear (or be decorated) which I think is the best way to decorate anyway.  I honestly wouldn’t change too much…maybe a new chair and new desk top.

It’s fun to look at pictures and dream though, isn’t it?

May 15, 2019 12:01 am Andrea Filed Under: Crafts

Table Runner

Alternate title:  How to completely fail at a super simple project.

This was an exercise in frustration.  A few months back I pinned a table runner that I thought would look great on my Dad’s dining room table.  His house is decorated in shades of white, greys and blues and he has a huge table that can fit up to 20 comfortably when the ends are extended.  Since finding long enough table cloths is problematic  I wanted to make a nice big table runner for it using the picture as inspiration.

Assorted fabrics

I started picking up scraps of cream and grey fabric, which aren’t that easy to find.  I was doing a search on Etsy and came across a charm pack of the Moda Modern Backgrounds More Paper fabric line and the colors were perfect.  I ended up using about 32 of the charm squares and supplemented with the other fabrics I had picked up.  I just love that little bee print and the ditsy white flowers on the grey background.

The finished runner measures 21″ x 74″.  I used 5  charm squares for the short ends and 16 for the long sides.  The center fabric is Outer Space from the Thrive fabric collection from Moda.  I thought it was a good homage to the Shashiko design of the inspiration piece.

Sewing accessories

Slight segue but isn’t that bobbin holder adorable?  I found it at an antique shop a few years ago.  I think it even came with a few bobbins of thread.  I love the starburst on the top.

First I sewed the squares for the long side together and then did the short sides.  So far so good.  Then I calculated the size my center fabric needed to be.  My first issue was my ruler slipped while I was cutting it so it wasn’t a perfect straight edge.  I had to be aware of this as I was sewing.  How do you experienced sew-ers cut large pieces of fabric when you want the edges to be really straight and precise?  The largest mat I have is 21″ x 24″.  The longest ruler I have is 24″.  I ended up folding the piece and cutting through multiple layers which is where I ran into the problem of the ruler slipping.  So the mistake wasn’t in just one small section, it was repeated in four places.

Sewn fabric strips

I then painstakingly pinned my first long strip to the center fabric and sewed it carefully, being mindful of my wonky edges.

And I somehow managed to sew the wrong side of the long strip to the right side of the center fabric.   I think I spent more time seam ripping than sewing.

I sorted it out and got the four strips sewn to my center piece.  No matter how carefully I sewed my pieces together, using a 1/4″ seam allowance, the strips wouldn’t line up properly.  How is that possible?

I used the same fabric for the backing as I used in the center.  And I managed to cut it about 3/4″ too short.

At this point I was ready to chuck the whole thing in the trash in a fit of pique but I soldiered on.  Like the inspiration picture, I didn’t want to have a binding so I sewed the two pieces, wrong side together (with some thin batting) and then turned it right side out.  I finished it with some top stitching along the edges.  I was intending to do some more quilting on it but to be honest I was over it by this point.

I’m tempted to cut all the edges off and redo it with by narrowing the side rows to be consistent with the ends and adding a binding.   We’ll see how much effort I want to invest it in.  I think the overall pattern is a keeper, I just need to figure out how to keep my seams consistent and to cut things out properly.


May 13, 2019 12:01 am Andrea Filed Under: Crafts

Friday Favorites

Photo collage

roses ◊ 177965_400637943305540_1237521529_o ◊ Into the white ◊ Chintz Covered Chair – Braemar Castle

  • I am in love with this bathroom.  Especially the tile
  • Also in love with the colors in this celestial tapestry.  I wish it came in a paper version for framing
  • Cute measuring spoon set
  • Pretty London flat.  Yes there is a lot of pink but to me it doesn’t seem overly feminine

Hello and Happy Friday!

It has been a very quiet and uneventful week around here.   It’s been unseasonably cool which I don’t mind.  We still have sunshine, just cooler than normal temps which, let me tell you, our garden loves.  When it gets too hot too quickly everything blooms and fades lightening fast.  We are really getting to enjoy all our roses.

We really don’t have much planned for the weekend.  I think I’ll do some deadheading and feed the roses.  I also have a stained glass project I want to do.  I just need to find an old small window.  Or a picture frame that I can make look like an old small window.  Stay tuned for that….

I hope you have a lovely weekend!

May 10, 2019 8:39 am Andrea Filed Under: Favorites

Jammy Dodgers

Jam filled cookies

I admit I made these cookies because the name kind of delights me.  I don’t even know where I heard of them.  From what I understand they are a British child’s delight and are readily available at your local grocer, provided you live in the UK.  I thought they looked an awful lot like Linzer cookies (a longtime favorite) but the recipe for the cookie is a bit simpler.

I think the main difference is the use of powdered (or confectioner’s) sugar instead of granulated sugar which makes the cookie a bit more delicate in the Jammy Dodgers.  Other than a few slight variations in the recipe, the cookie assembles and looks pretty much the same.  Two cookies, jam in the middle with a pretty peek of it from the top cookie.

Instead of the traditional heart shape for both the Jammy Dodger and the Linzer cookie I went with a floral motif for the cutout.  I’m celebrating all things Spring and what better way than with a cookie?

Save those little floral cutouts!  They make lovely teeny cookies on their own.   Plus they are so teeny they don’t count, calorie-wise, when you eat them.  It’s like celery – it takes more energy to eat them than are in the cookie themself*.

*Not scientifically proven.  Yet.

Another bonus to these cookies is that they come together FAST.  I got the notion to make these two hours before we were set to leave for a dinner date and managed to make a batch which included blog photo taking breaks and chilling time for the dough.  The recipes makes a dozen  2 1/2″ cookies (consisting of two cookies sandwiched together) with a bunch of little flower cut outs as extras.

If you want to be extra fancy you could make your own jam filling but I just used pre-made.

I was going to say this would be the perfect tea party cookie but honestly it’s the perfect “I need to renew my car registration” cookie.  Or the “It’s 11:00am and I’m surviving the day” cookie.  For a tough day you may want to double the recipe.

I have no idea how they store because they never last that long around here.

Cookies on plate

Jammy Dodgers

Print Recipe
Servings: 12 assembled cookies
Course: Dessert
Ingredients Method

Ingredients
  

  • 250 g all purpose flour
  • 200 g room temperature salted butter
  • 100 g confectioner's sugar
  • 1 egg yolk
  • Jam for filling

Method
 

  1. Preheat oven to 340 degrees F.
  2. Add the butter and sugar to a stand mixer or mixing bowl. Cream until light and fluffy.
  3. Add the flour and mix until the dough resembles course meal.
  4. Add egg yolk and mix until the dough comes together.
  5. Place dough in cling film and chill in refrigerator for 30 minutes.
  6. Turn the dough out onto a floured surface and roll out to 1/3 inch thick.
  7. Using a 21/2 inch fluted cookie cutter cut out the cookies. Using a smaller cutter, cut out the centers of half of the cookies.
  8. Place them on a parchment covered baking sheet.
  9. Bake 12-13 minutes until they start to turn golden brown on the bottom.
  10. Allow to cool completely.
  11. Once cooled, take a cookie without a cut-out and spread a scant teaspoon of jam.
  12. Top with a cut-out cookie.
  13. Sprinkle with confectioner's sugar


May 8, 2019 10:41 am Andrea Filed Under: Food

Dollhouse: Wing back chair

1:12 scale chair

This post will be a bit of a quasi tutorial and lessons learned along the way.  Sometimes you have to make something a few times before you get it right.

I saw this wing back chair image on Pinterest and was thoroughly charmed by it.   I followed it to the original blog post on Cinderella Moments where the blogger links to a pdf of a pattern for the chair.  It’s actually the assembly instructions for a kit but it essentially includes a template of the chair parts.

I thought I would have a go at it and I will say my results were mixed.  And after looking at the chairs Cinderella Moments created I’m tempted to think she may have played with the scale a bit.  Which is what I did the second time around.   Let me show you what I mean.

dollhouse chairs

The chair on the right is my first attempt using the template as is.  It looked too skinny and too tall.   I made some modifications to the height of the back and sides as well as how I assembled it.

I also switched up the material used for the chair parts.  In the first attempt I used a thin sheet of bass wood for the pieces.  I then painted them white because I didn’t want the tan of the wood showing through the white upholstery material.  Painting caused the pieces to curl a bit.  On the second chair I used chipboard, which in addition to not warping, was easier to cut out with my X-Acto knife.

Side note:  It wasn’t until well in assembly that I remembered that I needed two back pieces.

I couldn’t find a sheet of chipboard at my local craft store but I did find a package of chipboard tags that worked just fine.

In order to pad the back and seat I bought an inexpensive sponge from the $1 store.  I had to cut away the scrubby part but it worked out perfectly.  Again – lesson learned from the first one was to use foam instead of multiple layers of batting.  The seat in the first attempt just didn’t have enough loft.  I did cover the sponge with one layer of batting (actually it’s the stuff you use for hot pads or oven mitts) just to hide the yellow.

In the next picture you can see the various stages of covering the chair parts.

The material I used to cover the chair is a vintage hand towel that had a few holes in it so I didn’t mind sacrificing it.  I love the scale of the diamond shapes of the weave.

Another tip – starch the heck out of your fabric before cutting out.  It made it much easier to cut and to glue into place.

In addition to the damaged tea towel I used I also used the legs off of the cheap dollhouse furniture my friend gave me.  There was no salvaging the chair itself because the proportions were weird, not to mention it was cheaply made, but the legs could be reused.

I removed the legs and sprayed them with a shellac primer (remembering the awful red bleed through when I was painting some of the other pieces) then painted them with some acrylic paint I had on hand.  A little trick I used to paint the legs was to lay down some double sided tape and the tape the legs upside down so I could paint the visible sides easily.

Of course not everyone is going to have a stash of crappy dollhouse furniture to pillage for parts but you can find 1:12 scale dollhouse furniture parts easily.

I used a vintage hankie that had some staining, so thereby could be used as scrap, to add some trim to the chair and to create a lumbar pillow.   Save those less than perfect vintage pieces because you never know when they  might come in handy.

The thing about restoring a dollhouse I love the most is creating the furnishings.  Are they perfect?  No.  But I love the creative process in making them.

If you want to attempt to recreate this chair here is a link to the template I tweaked.   If you print the template on an 8 1/2″ x 11″ piece of paper it will be to scale.  I just have the template and not the instructions but I think you can figure it out by looking at the pictures.  If you have any questions about how I assembled the chair let me know in the comments and I’ll get back to you.


May 6, 2019 12:01 am Andrea Filed Under: Crafts, Dollhouse

Friday Favorites

Pale blue photo mosaic

lyrical ◊ Every day is like Sunday ◊ sea oats on the dunes ◊ map

  • Pretty Instagram feed:  @timeworn_white
  • I love a good before & after
  • Pricy but what a lovely cutting board
  • Very moving and honest interview with Rob Delaney on grief.  I loved the series Catastrophe (that Rob Delaney co-wrote and starred in).  This is a side of his life I didn’t realize he was going through while filming that series

Happy Friday!  I have one of those lovely, unstructured weekends this week.

This week felt kind of stressful.  Nothing in particular.  Mostly waiting to hear back from companies that I’m interviewing with which is an interminable process.  I have had two solid No’s which was disappointing to say the least.  In both cases they had to pull the job posting and ended up not hiring anyone.   I have another one that looks really promising where I’m supposed to go to the next level of interviewing but they haven’t gotten back to me to set that up.

It’s all very draining and demoralizing and to be honest I’m feeling very much in the dumps.

I’m hoping an easy weekend just puttering around will pull me out of this mood.  I have some plants that I need to get into pots and I have a dollhouse project I’m working on.

On that cheery note…

Have a lovely weekend!

May 3, 2019 12:01 am Andrea Filed Under: Favorites

« Previous Page
Next Page »

Primary Sidebar

How lovely to meet you!

Hi!  I am Andrea and I’m so glad you have stopped by.  click to read more

Subscribe to be notified of new posts!

Loading

Archive

Search

© Copyright 2016 · Pretty Lifestyle WordPress Theme by: PDCD