
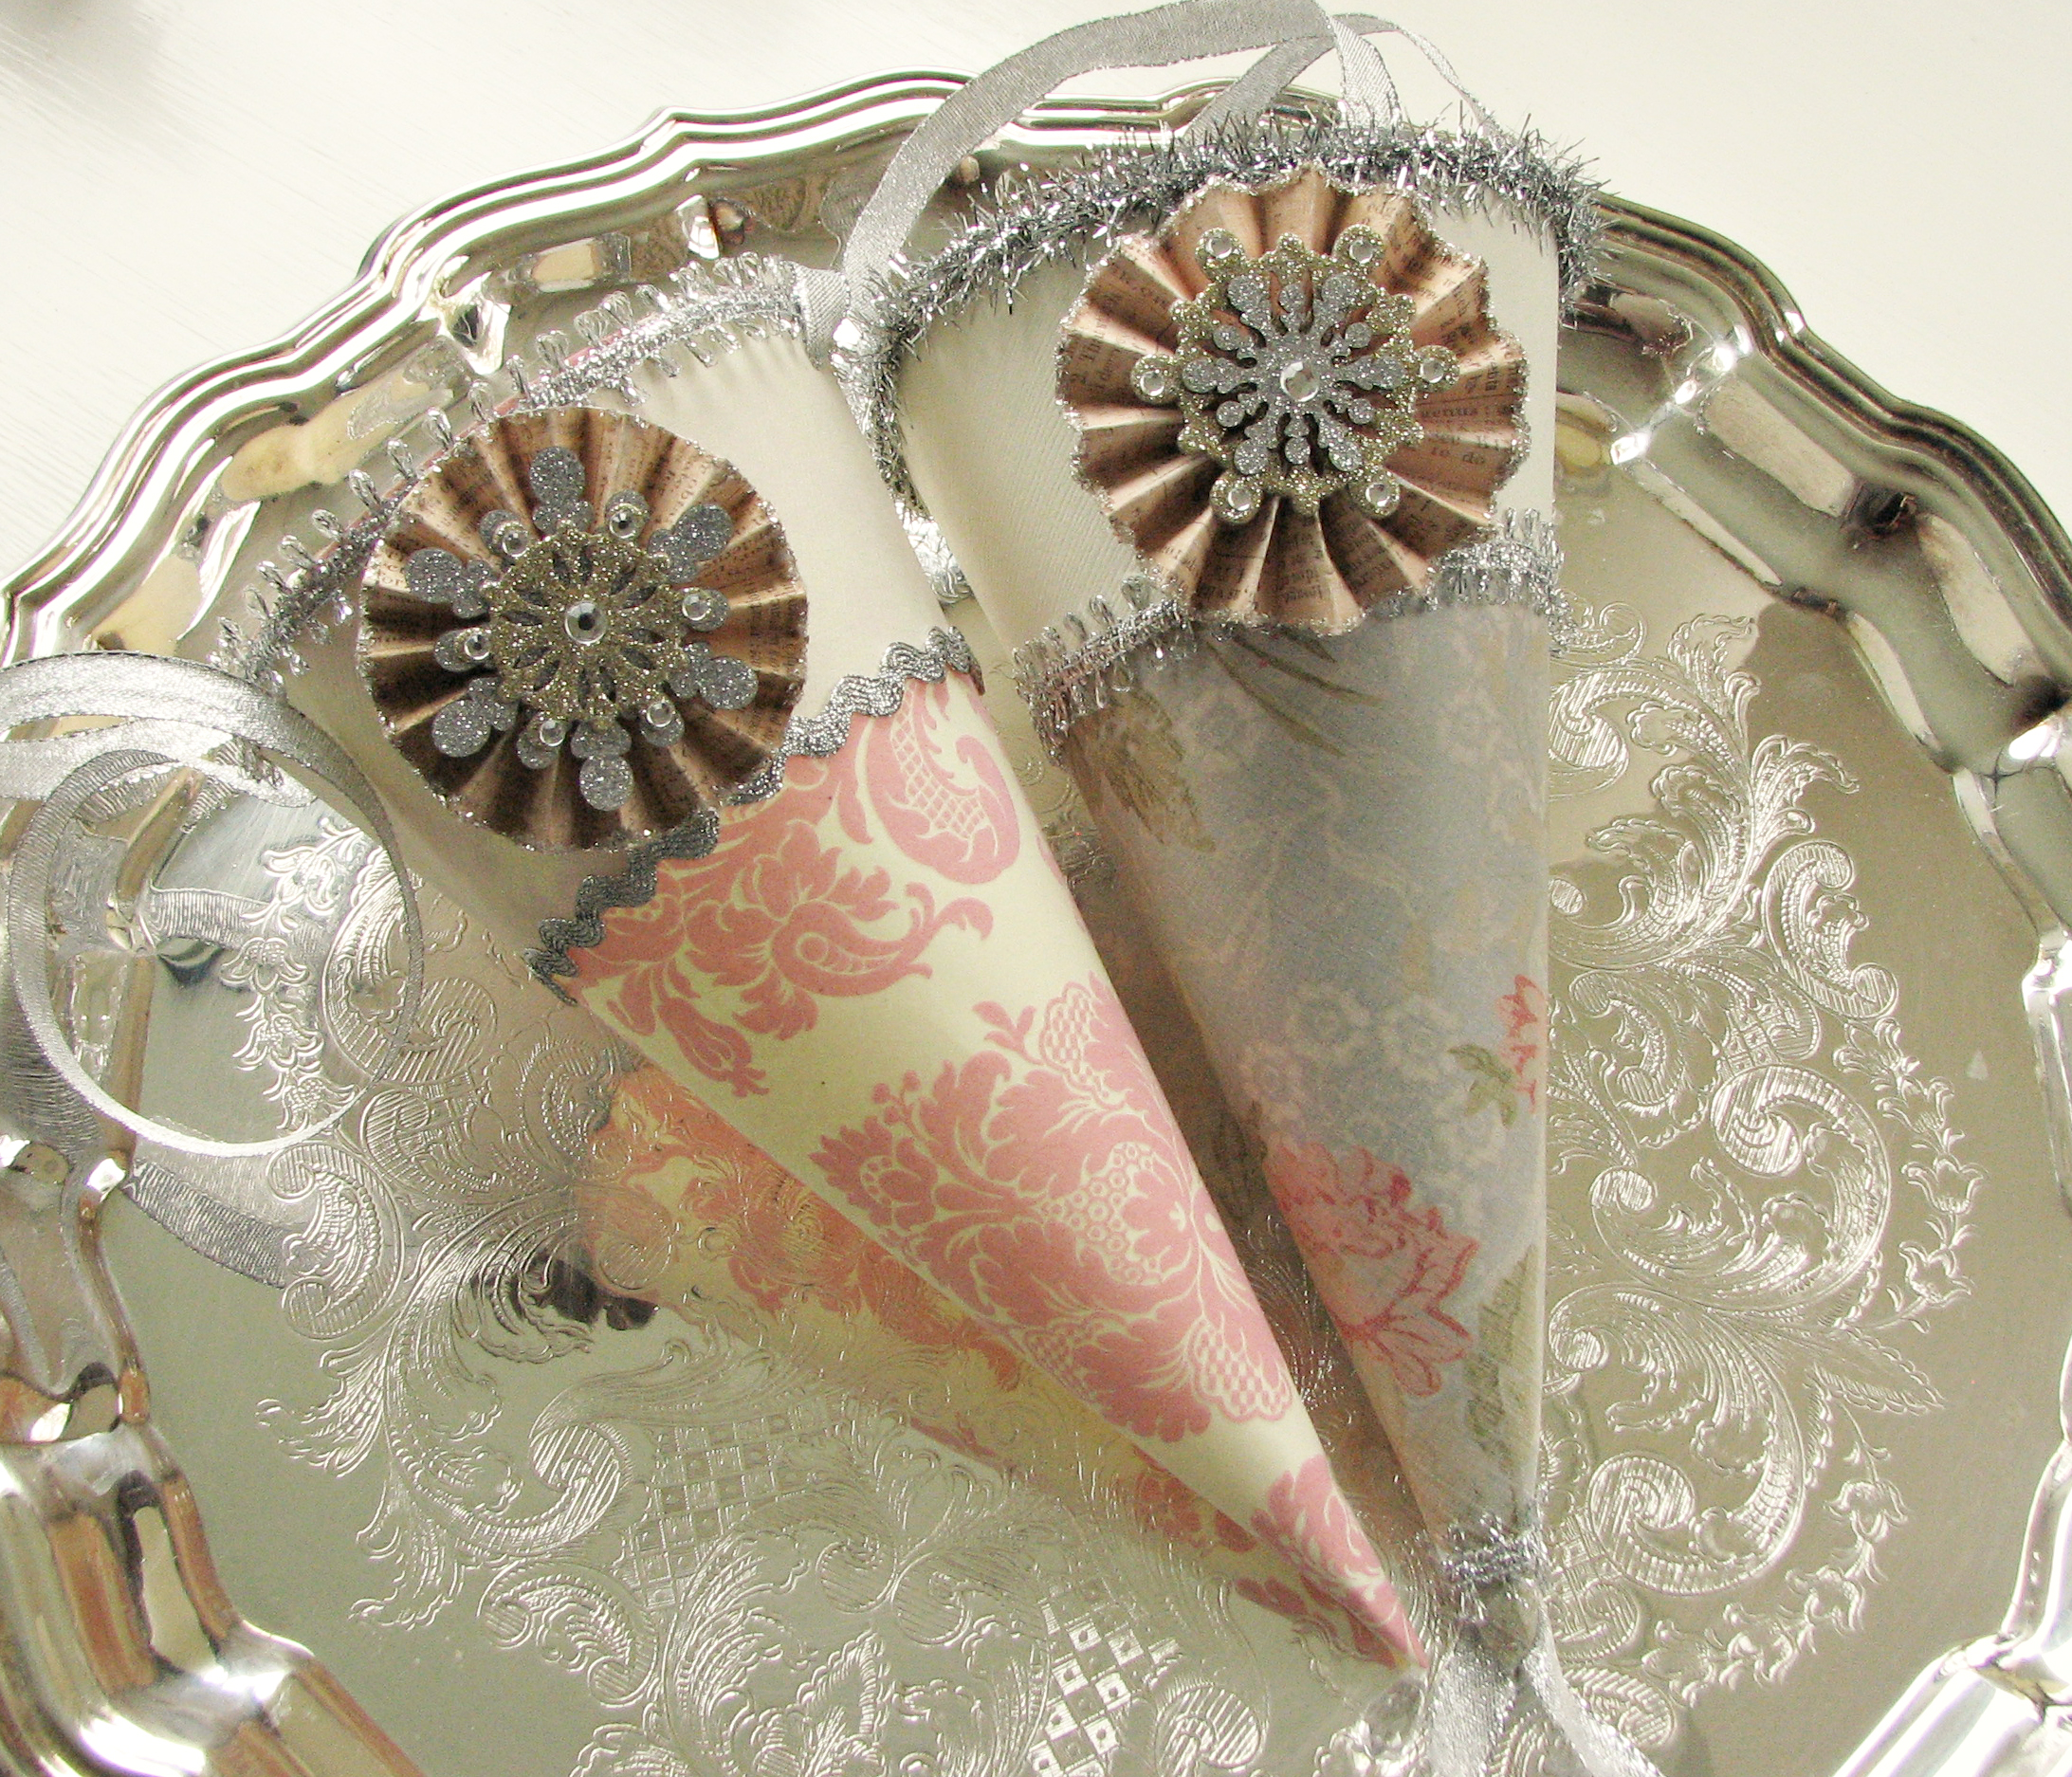
Tussie Mussies – The Tutorial
This is going to be a picture heavy post. Click on any picture to enlarge for better detail.
First I would do a Google image search for Tussie Mussie or go onto Flickr and do a search for Tussie Mussie. You'll get a ton of inspiration.
Okay ready? Let's go.
Supply list:
Decorative paper (I prefer cardstock weight)
Ribbon
Rick-Rack
Tinsel
Chipboard stars or snowflakes
Glitter
Crystal drops
Rhinestones
Tools:
Paper cutter
Scissors
Hole punch
Glue gun
Glue
Double sided tape
Pencil
Paintbrush
Template: Download Tussie Mussie Template (Note: This is a .pdf file. You will need Adobe Acrobat Reader to view. You can download it here if you don't already have it on your PC)
Okay let's take a look at our supplies and tools:


You will need to print two copies of the template. One for the cone and one for the contrasting band at the top. This makes a Tussie Mussie that is about 8" tall.
Using a small piece of double-sided tape affix the template to the backside of the paper you want to use for the cone and band. I like to use the tape to keep my template from shifting while I am cutting. You could trace the template to the backside of your paper if you prefer. I use just a small piece of tape that is repositional so that it doesn't damage my paper.
Cut out your cone pieces.
For the rosette cut a piece of cardstock 1" by 12" (Note: If you want a larger rosette cut your strip 1/4" wider) and a small circle (about the size of a quarter). Fan fold the long strip of paper.
I'm including a picture of my scissors because I think these are brilliant for paper cutting. They are super sharp and very comfortable to use.

Asembling the rosette takes a bit of patience. I like to use cardstock weight paper because it makes for a sturdy rosette. But glueing it and getting it to stay can be tricky. If you are comfortable with a glue gun it does make things go quicker but a good white glue works too (Alene's Orignal Tacky Glue is my all time favorite craft glue and what I used here).
First glue the ends together to form a circle or band:

Now here is the tricky part that I will do my best to explain – You want to push the center down and put a small blob of glue in the center. This is where the glue gun is especially useful since it sets up quickly.

Excuse me but when did my hands get so old looking?
Flip the rosette over (being careful it doesn't pop out of shape like it may want to) and glue the small paper disc to the back. This will help stabilize it and it makes it easier to attach it to the cone.

Now if you want you can make another, larger rosette, out of crepe paper and affix it to the back but in my personal opinion unless you have lovely, vintage crepe paper that has faded nicely it tends to look cheap. I haven't ever found new crepe paper in satisfactory colors.
I brush on a little glue on the edges of my rosette and dip it in glitter (German glass glitter being my favorite).
Affix a chipboard star or snowflake to the front. I found these wonderful dimensional snowflakes at Michaels (Jolee's Boutique is the brand – a division of www.eksucessbrands.com) but they were on clearance so I don't how widely available they are. You could just glitter up your own chipboard stars or snowflakes, adding rhinestones if you want. Or use a pretty button in the center.
Okay let's move on to the cone.
You'll notice on the template that one side of the cone and the contrasting band is a little bit longer than the other. This part will overlap the other edge.
Crease it slightly and apply glue to this overlapping "flap." Gently fold over the other edge and position (careful not to crease or wrinkle the cone) and then fold over the glued edge.

This is what your glued seam should look like:

Wrap the band around the top of the cone and glue the edges together. You can either trim the top edges so they are perfectly even or leave as is – the top gets covered pretty well by the trim.

Okay now we get to the fun part – embellishing. Cover the top and bottom edges of the contrasting band with whatever trims you will be using. Christmas is a good time to stock up on trims because craft stores seem to have an abundance of gold and silver trims in their ribbon section.
Once the trims have been added glue the rosette to your cone. Be mindful of where the seam is and have that be the back of your cone, with the rosette on the front.
Punch two small holes on either side of your cone, just below the top trim and insert a ribbon, making a small knot at each end once you have threaded the ribbon through.
On one cone I just added some ribbon streamers to the bottom. On the other I hung a small crystal drop. Be as creative as you want with your embellishments.
Now you can fill with little gifts or treats. I hope this was useful. If you end up making one I would love to see how it turned out.

These are so pretty. Thanks for the tutorial.
So pretty, thank you for sharing.
Thank you! These are absolutely beautiful!
Brenda
Those are exquisite!
Just Adorable!!!
What a super tutorial! I always wondered how to make those paper rosettes! Thank you so much.