• Skip to primary navigation
  • Skip to main content
  • Skip to primary sidebar
  • Home
  • Catagories
    • Books
    • Crafts
    • Dollhouse
    • Favorites
    • Food
    • Garden
    • Holidays
    • House
    • Musings
    • Organize
    • Places
    • Shopping
  • Contact
  • Nav Widget Area

    • Email
    • Instagram
    • Pinterest

Under a Blue Moon

Decor, cooking, organization, all the pretty things

Desktop calendar – April

Desk

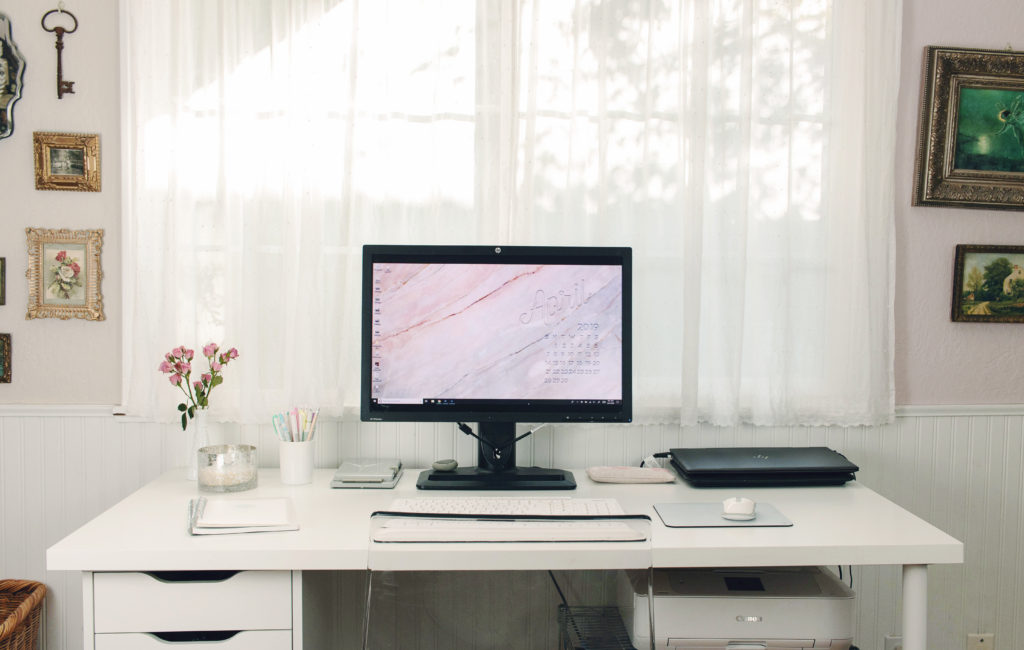
Continuing with the free desktop calendar downloads for April.  This time with a marble theme.  A bonus to this series is that my desk gets a good cleaning at least once a month…

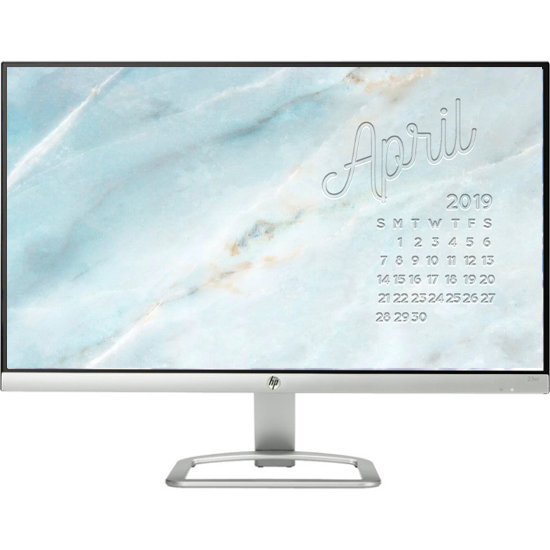
These are all rendered in 1920 x 1080.  To save the image click on the link and the image will open in a new tab.  Right click on the image and select “Save image as…” and save to your computer.

I’m not sure how to update a background on a Mac but on a PC you right click on your desktop background and select “Personalize.”  You can then browse to the file location of the picture you want as your background.

Pink marble desktop calendar

Grey marble desktop calendar

Blue marble desktop calendar

I hope you enjoy!


April 1, 2019 12:01 am Andrea Filed Under: Musings

Friday

photo mosaic

grace  ◊  A big thank you  ◊  Selina Lake  ◊  Bowl of Buttons

Happy Friday!  No favorites today.  I need to rush off to the DMV to renew my driver’s license before my birthday on Monday.  I had planned to do it earlier in March but then I was sick for the entirety of the month.  After rallying a couple of weeks ago and I came down with the flu/cold AGAIN!  I’ve just started feeling better in the last couple of days.  March was a doozy.  I think I wasn’t sick for about four or five days of the month.

I’m going to spend the weekend puttering around the house.  I’m seeing drifts of dust in the corners and the bathroom could use a good scrubbing.  I’m also going to continue work on the dollhouse bedroom.  I sanded down the walls and put up a coat of paint but the joint compound isn’t sticking to the old bright blue paint that was on the walls.  It’s crackling and chipping off.  So I’m going to sand it all back down and start over.

I hope you have a fabulous weekend!

March 29, 2019 8:45 am Andrea Filed Under: Musings

Spring

crab apple bower

We are coming up on the six year anniversary of living in our house in lovely old town Livermore.  We fell in love with the wide streets, the older homes and the proximity to the charming down town area.

One thing we always wanted was a crab apple tree in our front yard.  Just before we got the notion to sell our last home we redid the front landscaping and one of the features was a crab apple tree.  It was just a sapling so we never go to see it grow and blossom.

Crab apple blossoms

We first saw our current house in the doldrums of February.  All the trees were still leafless and all the roses were slumbering.  What we didn’t realize at the time was there was/is a magnificent crab apple tree right in the middle of our front lawn.  It wasn’t until it started blooming that we realized it.  What a bonus!  It has a beautiful shape and blossoms beautifully late in April.

Right down the street from us someone has planted a bower  of crab apple trees that creates a fabulous tunnel over the sidewalk.

There are 16 trees in total and every year, around this time, I start driving along that particular street to see if they are blooming yet.  For some reason everyone else’s crab apple trees bloom way earlier than ours.  I’m not sure why that is.

But while I wait for our tree I get to enjoy this gorgeous display.

It’s just one of the many charming features of our neighborhood.

crab apple trees


March 27, 2019 12:54 pm Andrea Filed Under: Garden

Repotting African Violets

Kitchen Window

I have always had a fondness for African violets.  When Rick and I were first married my mother in law gave me one in a giant champagne coupe (it was the 80’s…) and I have had one or more ever since.

I have one now that was in desperate need of repotting.  This particular one is over a decade old.  I have repotted it in the past but had let too many years go by this time around.  Did you know you should actually repot African violets every six months or so?  A year at a maximum.  What happens is they lose their leaves from the bottom up and develop long “necks.”

African Violet

Mine did an interesting thing about a year ago.  It bifurcated!  That is one violet in a single pot above.  I’ve never had an African violet do that before.   I keep this violet on a shelf on one side of my kitchen window where it is very happy.  It blooms constantly.  I had a matching one on the shelf on the opposite side of the window and it up and died.   I think the soil was compacted and the roots just couldn’t breathe properly.

Look how long those “necks” are!  Terrible!  I really should have repotted this ages ago.

Both necks are really curved which complicates the repotting.  First of all, African violets don’t like a lot of room for their roots so you don’t want to repot them to a much larger pot.  You can go up a little bit, but not much.  You’ll need to bury the neck so that its lowest row of leaves is level with the pot rim.  Add potting soil, up to the pot rim, covering the neck.  The neck will produce new roots into the added soil.  To make it all fit you may need to cut the bottom off of the root ball.

In my situation I wanted to separate the two halves of the violet.

Yep.  I pretty much just cut it in half.

I had a couple of pots that are just a bit bigger than the original plastic nursery pot it was in.  I cut out a couple of circles of needlepoint canvas to put in the bottom of the pots to keep the soil from washing out every time I water.  I would have preferred window screening but didn’t have any on hand.

See – just plop it in the bottom of the pot.

I placed a half of the original violet into each pot and carefully added soil all around, gently pushing it down.  You don’t want to compact it but keep in mind the soil will settle once it is watered.

Speaking of watering…I like to water African violets from the bottom.  I’ll place the pot into a container that has about a half inch of water.  Since the soil was fresh from the bag it was rather dry so I watered from the top too.   I let it sit in its water bath for about 15 minutes.

Now I have a violet on each side of the window again.  Not only will I rotate them regularly but I’ll also have them swap sides now and then so they both get the same amount and type of light.

A few last thoughts.  I just use regular house plant potting soil.  I know you can buy specialty soil that is specific to African violets but I’ve always had good luck with the regular old stuff.  There is a picture of an African violet on the bag so I figure it must be okay.  I generally water once a week unless they are looking droopy.  As for light I keep them in a bright spot, with indirect sun and they reward me with flowers pretty much year round.

Milk glass african violet


March 25, 2019 12:01 am Andrea Filed Under: Garden

Friday Favorites

Photo Collage

m a g n o l i a .  ◊  Hydrangea in Little Vase with Reflection  ◊  easter goodness  ◊  white buttons

  • What lovely paintings French Canvas creates.  I have my eye on a couple of prints.
  • A miniature Miss Havisham mansion.
  • While I was sick I wiled away the hours watching tiny house videos on YouTube.  There is something that fascinates me about creating a functional living space in a very small area.  I think it is the ingenuity of the design that draws me in.  Miss Dolly’s tiny house is very feminine and very functional.  It probably helps that she is tiny herself.   She has her own blog and Instagram feed if you want to follow along with her adventures.

Despite it being Spring you wouldn’t know it by the weather today.  It’s going to be rainy and cold.  It promises to clear up for Saturday and Sunday though, so maybe I can get out and do some weeding and take stock of the garden to see what beds need tidying and freshening up.

I also have an embroidery project I want to start on.  My son draws these very intricate mandala designs and I want to embroider one on a pillow.

I hope you have a lovely weekend!

March 22, 2019 12:01 am Andrea Filed Under: Favorites

Dollhouse Before

White dollhouse

This is going to be a picture heavy post.  And not pretty pictures either but I wanted to document the before, in all it’s glory, before I get too far into the restoration.

First a little background on this house.  Two years ago someone I follow on Instagram for home decor had done pretty much a replica of her own home in dollhouse form and I was just smitten.  So I started researching all things dollhouse and quickly determined that this could be a very expensive and time consuming hobby.  I really wasn’t interested in building a dollhouse, to be honest, I just wanted to decorate one.   Then I read a blog post on Mockingbird Cottage who mentioned that she found an assembled one on Craigslist.

Hmmm.  I immediately hopped on my local Craigslist and as luck would have it there was one listed for sale!  It is a Greenleaf Beacon Hill which normally retails for about $250 (in kit form) and I got the assembled one for $80.

So thank you Claudia for the tip to look on Craigslist!  I don’t think it would have ever occurred to me.  Thank you also for your dollhouse sources page which I have found invaluable.

Here are the listing photos and what it looked like when I purchased it:

Gracious that is lurid.  As you can see from the first photo I have slapped a primer coat on the exterior just so it isn’t so eye searing while I am working on it in my office.

Here is the interior:

The woman who sold it to me had already begun some restoration work then decided she really didn’t have the time nor the space for it.

I decided to modify the layout somewhat.  I wanted a bigger living area so I removed the wall between the foyer (bottom middle) and the living room (bottom right).  After much deliberation I removed the lower staircase as well.  I know some miniaturists are going for realism but I honestly don’t care (or have the talent/patience) if it is completely accurate.  We’ll just pretend the staircase is there, but not visible.

I also removed the walls in the upper most level.  I want that to be a big attic space and not a series of rooms.

The construction of the house is rather slipshod and I ended up removing all the window casings and the acetate windows.  You can buy replacement windows from Greenleaf but I think I’m going to just leave them open.  I can make new casings for the windows fairly easily.

I am going to put wood floors in a herringbone pattern in the living room, upper hallway/stair landing  and bedroom.  I’ve actually already  made the floor for the bedroom but I need to apply a skim coat on all the walls in the house and paint before I install floors.   The attic will have a rough hewn wood plank floor.

I bought flooring for the kitchen and bathroom.  I will need to put an underlayment before installing it so it is level with the adjoining wood flooring.

I think I’ll put a fireplace in the living room but not the bedroom or attic space.  The previous owner had removed all of them in her restoration efforts.  I feel they will take up too much room in the bedroom and will mess with my planned placement of furnishings.  And who needs a fireplace in the attic?

When I see all the work I have to do to get it inhabitable I realize it would have been quicker to just have started with a kit and built it myself.  Ah well.  I’m committed now.

The next step is to get the walls in order.  I am using joint compound for a skim coat because it’s easy to work with and sands really smoothly.  I do have a little patching I need to do in the attic where I removed a wall and opened up a hole to the outside.

I sure have a lot of work to do!  It’s rather daunting.  I have been buying and making the furnishings (mostly making) because that is the fun part and I don’t want to wait until it is completely restored to get to the fun part.  Hopefully the next post in this series will be the finished walls.  Stay tuned.

March 20, 2019 12:01 am Andrea Filed Under: Crafts, Dollhouse

« Previous Page
Next Page »

Primary Sidebar

How lovely to meet you!

Hi!  I am Andrea and I’m so glad you have stopped by.  click to read more

Subscribe to be notified of new posts!

Loading

Archive

Search

© Copyright 2016 · Pretty Lifestyle WordPress Theme by: PDCD