• Skip to primary navigation
  • Skip to main content
  • Skip to primary sidebar
  • Home
  • Catagories
    • Books
    • Crafts
    • Dollhouse
    • Favorites
    • Food
    • Garden
    • Holidays
    • House
    • Musings
    • Organize
    • Places
    • Shopping
  • Contact
  • Nav Widget Area

    • Email
    • Instagram
    • Pinterest

Under a Blue Moon

Decor, cooking, organization, all the pretty things

Friday Favorites

Friday Favorites

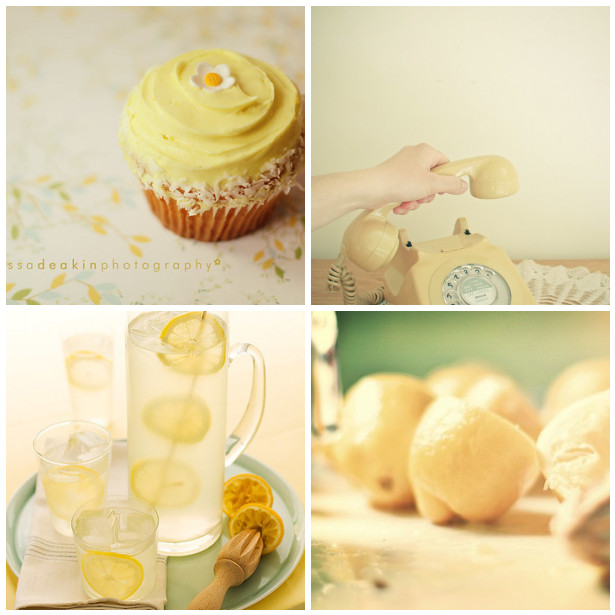
pretty cupcake. ◊ Untitled ◊ lemonade closeup 2892.jpg ◊ Habit :: 7/21

  • Speaking of lemons…Isn’t this a gorgeous looking take on an upside down cake?
  • I went down a rabbit hole of South Korean YouTube videos these week and boy are they ever calm and soothing. 해그린달 haegreendal’s channel is vlog like in format and everything she does is so very intentional.  She is very big on SDH (small deliberate happiness) that I find to be a great practice.  She also makes me want to scrub my house down from top to bottom.  Cooking tree 쿠킹트리 posts the most gorgeous cooking videos.  Admittedly I do watch her videos at time and half speed because they can be a bit slow and I turn the volume down on both channels because they are vaguely ASMRish (which I don’t get but to each their own)
  • Is anyone reading anything interesting?  I just downloaded The Mermaid and Mrs. Hancock by Imogen Hermes Gowar to listen to.  So far I am enjoying it.  The narrator (Juliet Stevenson) is fabulous

Lord have mercy on us was it ever hot this week!  We had over 100 degree temps for the first half of the week and it finally dropped down to the high 80s for the rest.  Thank goodness we have air conditioning but I am not looking forward to our electricity bill this month.

We don’t have any plans for this weekend except for Father’s Day activities on Sunday.  I am doing a little bit of a refresh in my office.  I have an Ikea Linnmon tabletop with an Alex set of drawers supporting one end and plain legs supporting the other (like this).  I bought another set of drawers and a longer tabletop .  I needed some additional storage and my desk is always so cluttered and crowded.  The new desk set up will be over a foot longer.

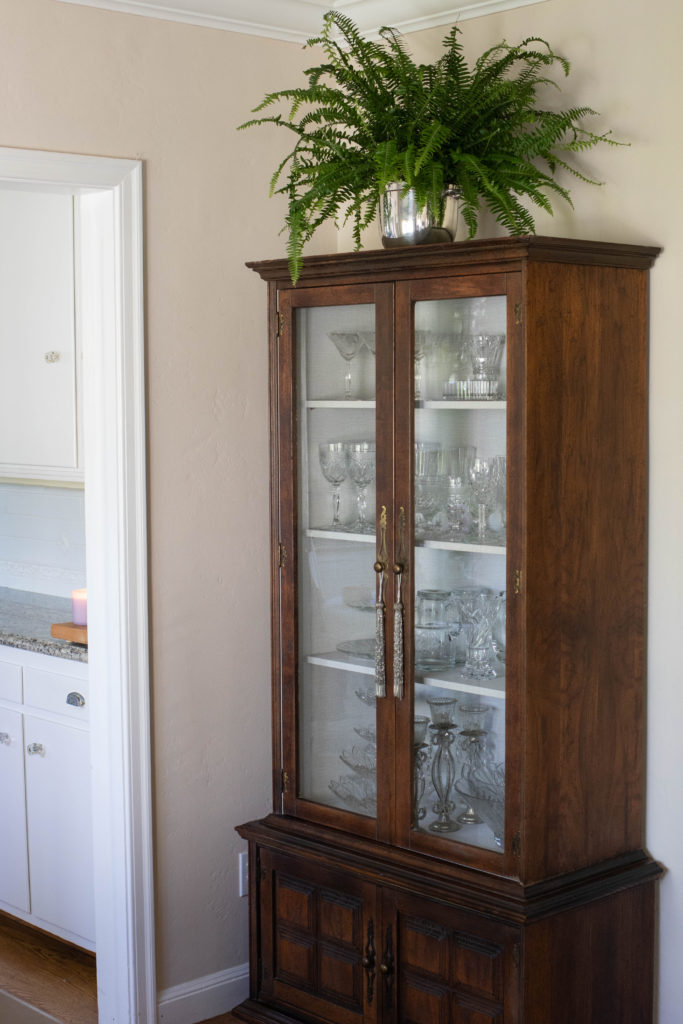
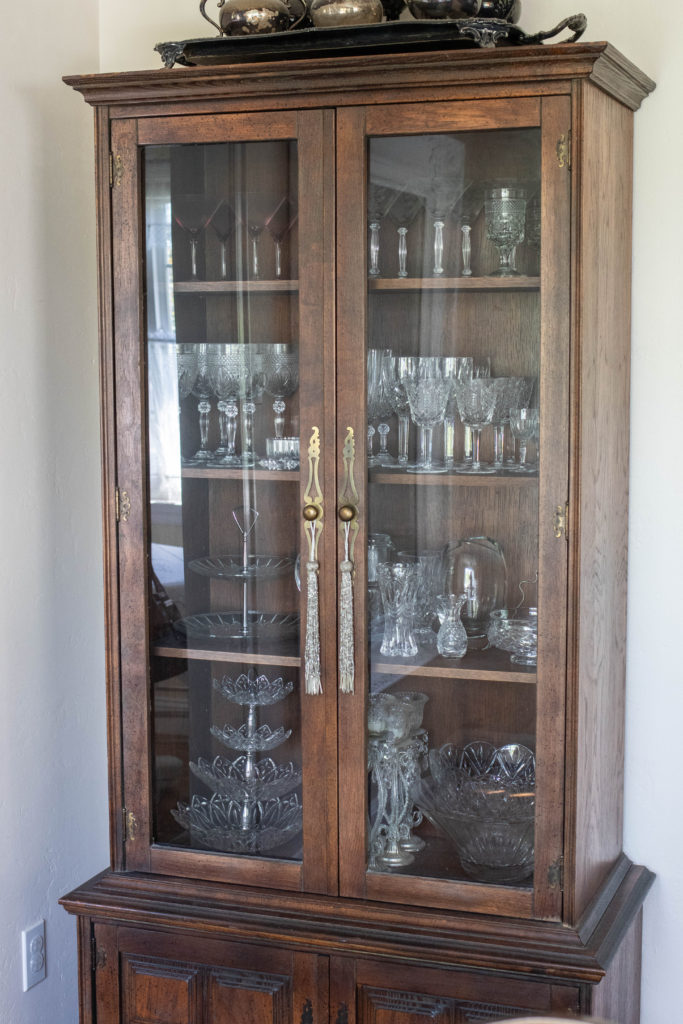
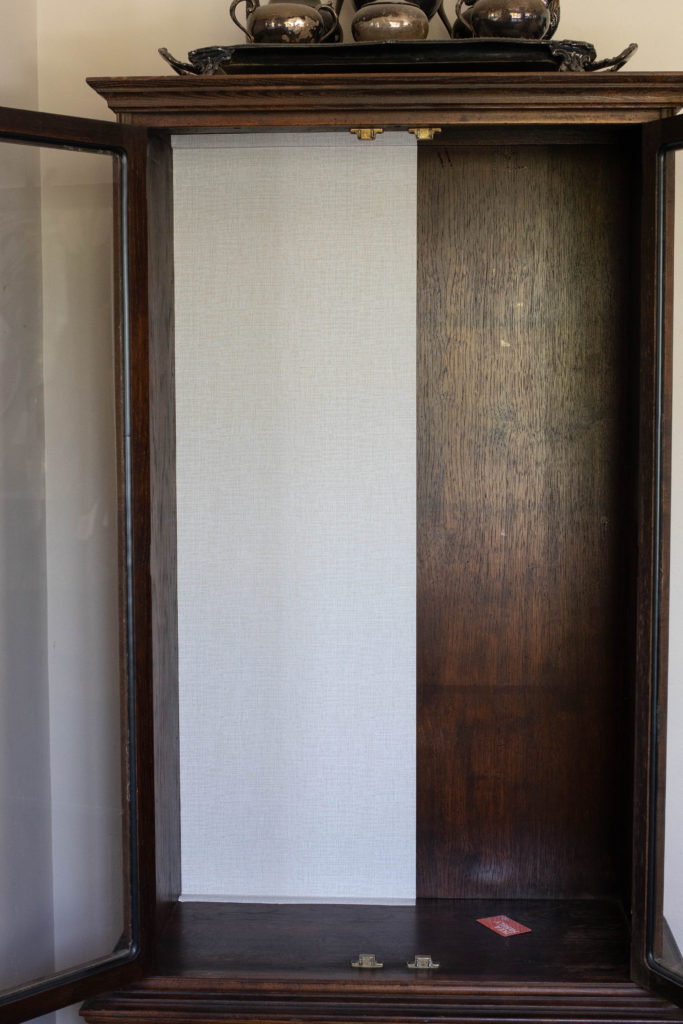
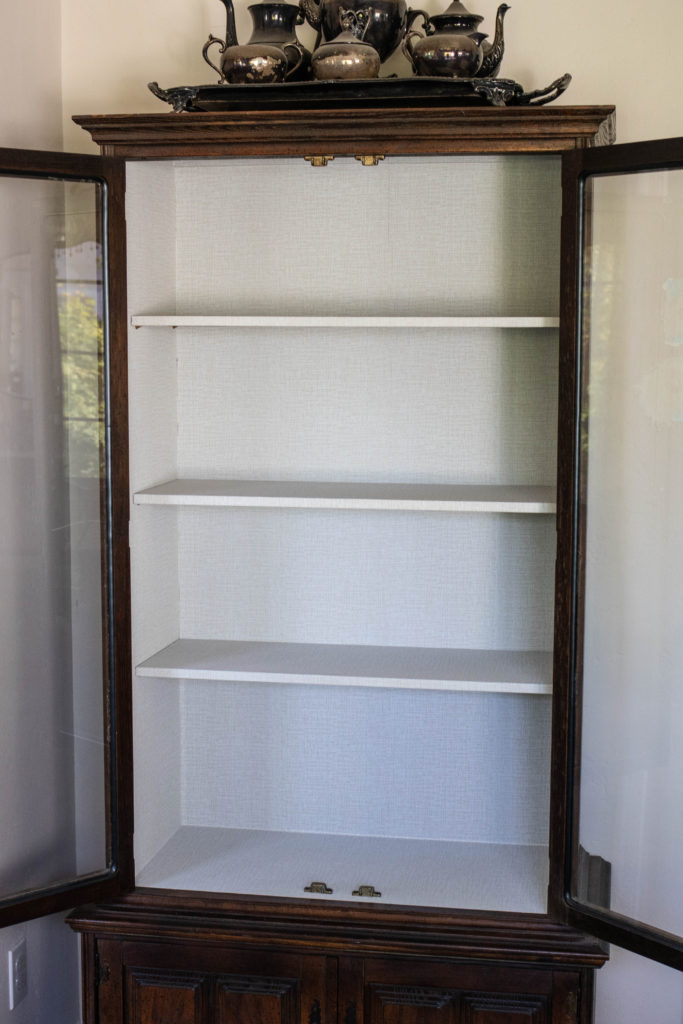
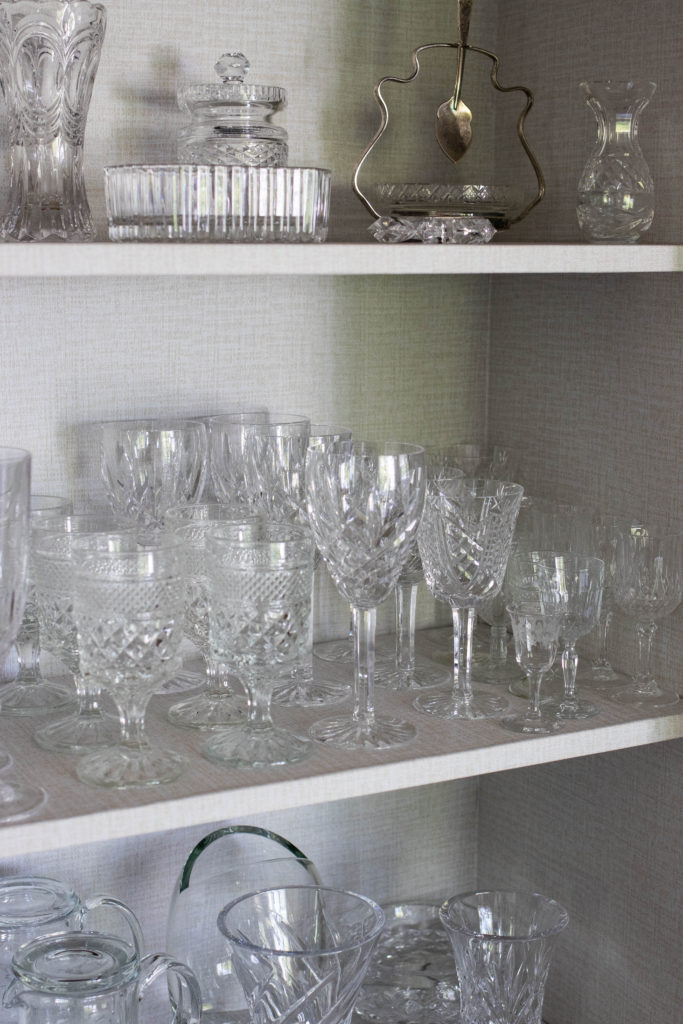
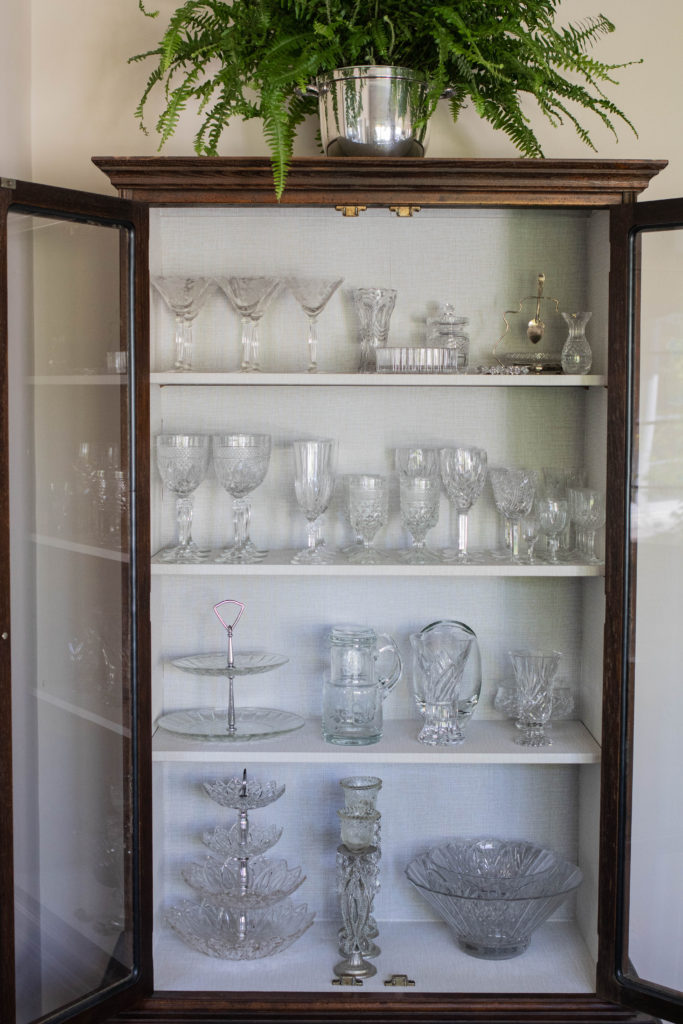
I’m toying with the idea of painting the china cabinet that serves as a linen storage in the office.  It is a dirty cream color and I want it to be white like the desk and bookcase.  I doubt I’ll get to it this weekend since assembling Ikea furniture is certain to take eight times longer than I think it will.

Have a splendid weekend!

June 14, 2019 12:01 am Andrea Filed Under: Favorites

Frosé

Now that the temperatures are starting the heat up around here I thought I would share a pretty, frozen cocktail.

Frosé, or frozen rosé, has been on my radar for a bit.   There are a ton of recipes (and pretty pictures) out there and they all seem to use the same few ingredients and couldn’t be simpler.  It does take a bit of planning as you need to freeze the rosé the night before you want to serve.

Frozen rose cocktail

You obviously start with a nice bottle of rosé.  It is recommended that you go for a darker colored rosé as it lightens up a bit when it is frozen but to be honest I rather like the pale blush my version ended up being.  I also wouldn’t use a pricey bottle either.

You simply pour the wine into a gallon freezer bag and pop it in your freezer.  I put it in a bowl just in case there was any leaking before it had a chance to firm up.   Wine, or any liquid with alcohol, will not freeze up entirely, you’ll end up with a slushy mixture.

The other key ingredient is strawberry simple syrup.  I made a standard simple syrup with a one to one ratio of water and sugar and added chopped strawberries and let it sit overnight in the fridge.  When I was getting ready to assemble the cocktail I strained out the strawberries.

Another optional ingredient is vodka.  It does make it a little boozier.  You can even amp up the strawberry flavor by using a strawberry flavored vodka.   If you don’t want to add more alcohol to the drink you can leave it out.  I’ve also seen versions with a bit of grenadine or lemon juice depending on if you want it sweeter or tarter.

Once your rosé is frozen and your strawberry simple syrup is strained you just pop it all in the blender with any additional liquid you want to add and give it a whirl.   If you want to prepare this ahead of time you can put it back into the freezer for a while and give it another quick blend just before serving.

Funny story – I actually made this at 9:00am on a Monday morning.  I needed to work with the light for the photos and was racing to get it done before it got too hot outside and melted my drinks.  And no, I didn’t drink them.  I poured them into smaller ziplock bags and put them back in the freezer.  Next (appropriate) time I want a refreshing cocktail I can pull one out and pour it into a pretty glass and enjoy.

Frosé

Frozen rosé cocktail
Print Recipe
Servings: 4
Ingredients Method

Ingredients
  

  • 1 bottle Rosé
  • 1/2 cup sugar
  • 1/2 cup water
  • 8 oz. sliced strawberries
  • 2 oz. vodka optional

Method
 

Prep work:
  1. Pour rosé into a gallon freezer bag and freeze overnight.
  2. Make strawberry simple syrup by combining sugar and water into a saucepan and bringing to a boil. Add strawberries and turn off the heat. When cooled pour mixture into a jar and refrigerate overnight.
Drink assembly:
  1. Strain your strawberry simple syrup and measure out 6-8 tablespoons (to suit your sweetness level).
  2. In your blender add the frozen rosé, your strawberry simple syrup and vodka and give it a whirl.
  3. Pour into pretty glasses, garnish with a small strawberry and serve!
  4. If you aren't quite ready to serve you can put the mixture back into the freezer and give it a quick blend right before serving.

June 12, 2019 12:01 am Andrea Filed Under: Food

China Hutch Refresh

Our china hutch got a bit of refresh.  The inside, at least.  This cabinet was Rick’s mom’s and she gave it to us about 20 years ago.  Interestingly enough she always referred to it as a gun cabinet even though it isn’t set up inside to be one, nor has it ever been used as one.

It has served as a china cabinet, a linen cabinet and now houses crystal and glassware.  I’m not sure what type of wood it is made out of – could be walnut or maybe oak.  At any rate I didn’t want to paint it because that is too permanent so I looked into removable wallpaper to lighten up the interior.

I wanted a linen or grass cloth like interior and ended up ordering this peel and stick wallpaper from Amazon.  The rolls are a little shorter than standard wallpaper rolls and I ended up needing three rolls for the project.   I confess that I didn’t pay attention to the length of the rolls when I first ordered and thought that one roll would do the trick.  I used to hang wallpaper for a living and usually wallpaper comes in double rolls which would have been plenty.  I had to pause a bit for additional rolls to arrive which meant all the crystal and glassware took up most of the counter space in our kitchen for a few days.

It did give me the opportunity to give everything a good wash.  How is it that glassware can get dirty inside a closed cabinet?  It’s not like the doors are opened all that often but everything had a weird film on it.  Side note – do you have any idea how nerve wracking it is to wash four dozen pieces of stemware?  Some of it quite old and delicate.  Very, let me tell you.

The first piece went up like a dream.  I peeled away the backing at the top and positioned the paper and then slowly peeled and pressed the rest of the strip, smoothing it down with a credit card (Ikea Friends & Family membership card, to be precise….) as I went.

The second strip was a nightmare.  I couldn’t get it to go down smooth and wrinkle free.  I kept peeling it back off and repositioning but still ended up with a handful of small bubbly wrinkles that I couldn’t smooth out to save my life.  In the end, when the selves and glassware are in, you can’t see them so no biggie.

I think it turned out rather nice in the end.  It really does look like a linen lined cabinet now.  If I ever get tired of the color I can either paint over it or just remove it and go back to the original wood.

Here’s a tip for you if you ever attempt a similar project.  Make note of where the holes are that the shelf support pegs go in.  They get covered by the paper and are hard to locate.  I measured the distance from the top of the cabinet and the back of the cabinet of each hole and it was easy to pop the pegs back in.

I think it elevates both my pressed glass Anchor Hocking and my Waterford crystal.  No playing favorites here.  The only thing that didn’t make it back into the cabinet is a set of pale pink martini glasses that kind of messed up my color palette.

I also need to find a new spot for the silver tea service that sat on top of the cabinet.  When I was looking at the before pictures it just looked so sad and dusty.  I’ve tried polishing that set to no avail.  That black tarnish just doesn’t want to come off.  So I polished up a silver ice bucket and plopped a Boston fern in it.  Let’s see how long I can keep it alive.

June 10, 2019 12:01 am Andrea Filed Under: House

Friday Favorites

Snowdrops ◊ When your dreams get blurred ◊ Vintage Prom Dress Ruffles ◊ Untitled

  • Is this not the most gorgeous dessert you have ever seen?  Oh dear lord her entire Instagram feed is just nuts
  • What a pretty rug.
  • Okay a kitchen remodel I can get behind.  I’m all about preserving the vintage vibe
  • Lovely Instagram feed:  @annakubel   Moody and pretty

Hey y’all!  Happy Friday.  Sorry for bailing on Wednesday.  I just, well, didn’t.  Just one of those weeks.  (Two paragraphs on the soul sucking business of looking for work deleted).

I have been on a YouTube card making video bender this week.  I have always loved the art of anything paper.  I don’t know why a certain medium, whether it be fabric, one’s voice, paint, what have you, speaks to a person but paper has always been mine.  So I’ve been sorting through my tools and stash of paper just to get a sense of what I have to work with.  As a result I’ve come up with this year’s Halloween invitation (a record, I’m telling you!  Usually I sort this out in September) AND I’ve been testing out some Christmas cards.  Who knows – I may even send some out this year.  If anyone wants a card from me send me (privately) your mailing address and I’ll add you to my list.

We don’t have plans for this weekend.  And I’m just going to roll with it.  Laundry might be done.  Or not.

Have a lovely weekend and I just want to say thank you for coming here and checking out what is going on with me.  I truly do appreciate it.


June 7, 2019 12:01 am Andrea Filed Under: Musings

Hot Pads

Last week was very productive as far as creative projects go.  I wanted to share this one in particular because I used a fun gadget to make my Dresden plate hot pads.

We all know I’m fabric cutting challenged so when I saw that Sizzex makes fabric cutting dies I was all in.  I bought both sizes of the Dresden plate dies.  One makes 5 1/4″ petal (pre-sewn measurement) and the other makes a 3″ petal.  I made two hot pads using both.  I’ll add links at the end to the products I used.

I used charm pack square and other various scraps for both hot pads.  The charm pack squares come up a little short on the 5 1/4″ die but I made sure that it was short at the narrow end and just made a larger center circle applique.

If you aren’t familiar with the Sizzex Big Shot die cutter here is how it works:  You place your fabric (or paper, as it is generally used for) on top of the die and sandwich it between two acrylic plates and then run it through the die cutter by cranking a handle.  It’s very low tech but works like a charm.

I wish my Big Shot was a little less lurid (they do have a nice sedate pale gray one) but I got it on clearance when a craft store was going out of business.  Beggars can’t be choosers and all.

The 3″ die cuts three petals at a time and a 5″ square (like a charm pack square) works perfectly.  I used five different fabrics for the smaller design.  At first I thought it only required 12 petals to make the plate and after I sewed it all together I realized I needed three more petals to make it lay flat so I picked it apart and inserted another petal after every fourth one.

I used two sided fusible interfacing to secure my plate to a square of linen and then zig-zag stitched around the edges.  I appliqued a small circle of fabric to cover the raw edges of the center of the plate.  I cut out a circle of card stock and ironed the raw edges of my fabric circle around it and boy was that fiddly and finger burning.

For the back and binding I used the same linen fabric and sandwiched some Insul-Brite batting between the layers.  I would actually recommend adding another layer of very thin batting or felt just to make it a little bit thicker.

I wasn’t real happy with how my binding turned out so I covered it up with some lace trim.

The larger Dresden plate only took 12 petals and I used a different charm square for each petal.  The larger die cuts two petals at a time and I just overlapped two squares and ran it through the cutter.

I wanted this hot pad to be the shape of the Dresden plate so after sewing the petals together I layered the plate on top of the backing fabric (right sides together) and laid them on top of the Insul-Brite and sewed around the edges of the petal.  You can sew all the way around because the center of the petals creates an opening you can use to turn it right side out.

After sewing the layers together I trimmed it as close to the stitching as possible and then turned it right side out.  I then stitched all around the outer edge.

I tried to create the center circle applique the same way as I did the square hot pad but I couldn’t get my circle to be nice and, well, circle-y.  So I cut out two circles of fabric, sewed them together and then made a slit on the backside and turned it right side out.  Much nicer.  I thought the white circle looked a little stark so I added two rows of hand quilting using red thread.

Here are links to some of the tools and products used (non-affiliate links):

  • Sizzex Big Shot
  • Large Dresden plate die
  • Small Dresden plate die
  • Insul-Brite batting

All in all a pretty easy and quick project and a great way to use up extra charm pack squares or scraps of fabric.

June 3, 2019 12:01 am Andrea Filed Under: Crafts

Friday Favorites

Friday Favorites Photo Mosaic

Untitled ◊ Untitled ◊ little romeo ◊ Bloomingville: Spring/Summer 2010

  • My daily motto
  • Target has some nice looking patio umbrellas.  Like this tasseled floral number, this neutral pattern with pompoms, this fringed number and for a less boho vibe, this white umbrella with black scalloped trim
  • What gorgeous details in this Brooklyn Brownstone.  Read to the end to see the fabulous find in their basement

We made it to another Friday!  And for a change we are going to have nice weather!  It finally stopped raining and has been in the 70’s.  Ideal weather.

We don’t have much in way of plans other than watching our granddaughter on Saturday night while her parents go to a concert.  I’ll have to clean my office before she gets here because she likes to hang out in there and it is a hot mess right now.  I have four different projects going on and it looks like either a bomb went off or I was ransacked.

I hope the weather is lovely where ever you are and that you can get out and enjoy the weekend.

May 31, 2019 12:01 am Andrea Filed Under: Favorites

« Previous Page
Next Page »

Primary Sidebar

How lovely to meet you!

Hi!  I am Andrea and I’m so glad you have stopped by.  click to read more

Subscribe to be notified of new posts!

Loading

Archive

Search

© Copyright 2016 · Pretty Lifestyle WordPress Theme by: PDCD